
Long past overdue for an update on this behemoth of a project!
The Good news: I've made a ton of progress, and the monolith is now fully populated with tools, paints, and all manner of hobby goodness.
The Bad news: a cell phone upgrade means I lost half of my WIP shots, including the light housing, wiring, and power layout. Sadface. You'll have to be satisfied with the pictures I've taken since. Let's dive right in!
 |
| My faithful backers. Kickstarter not included. |
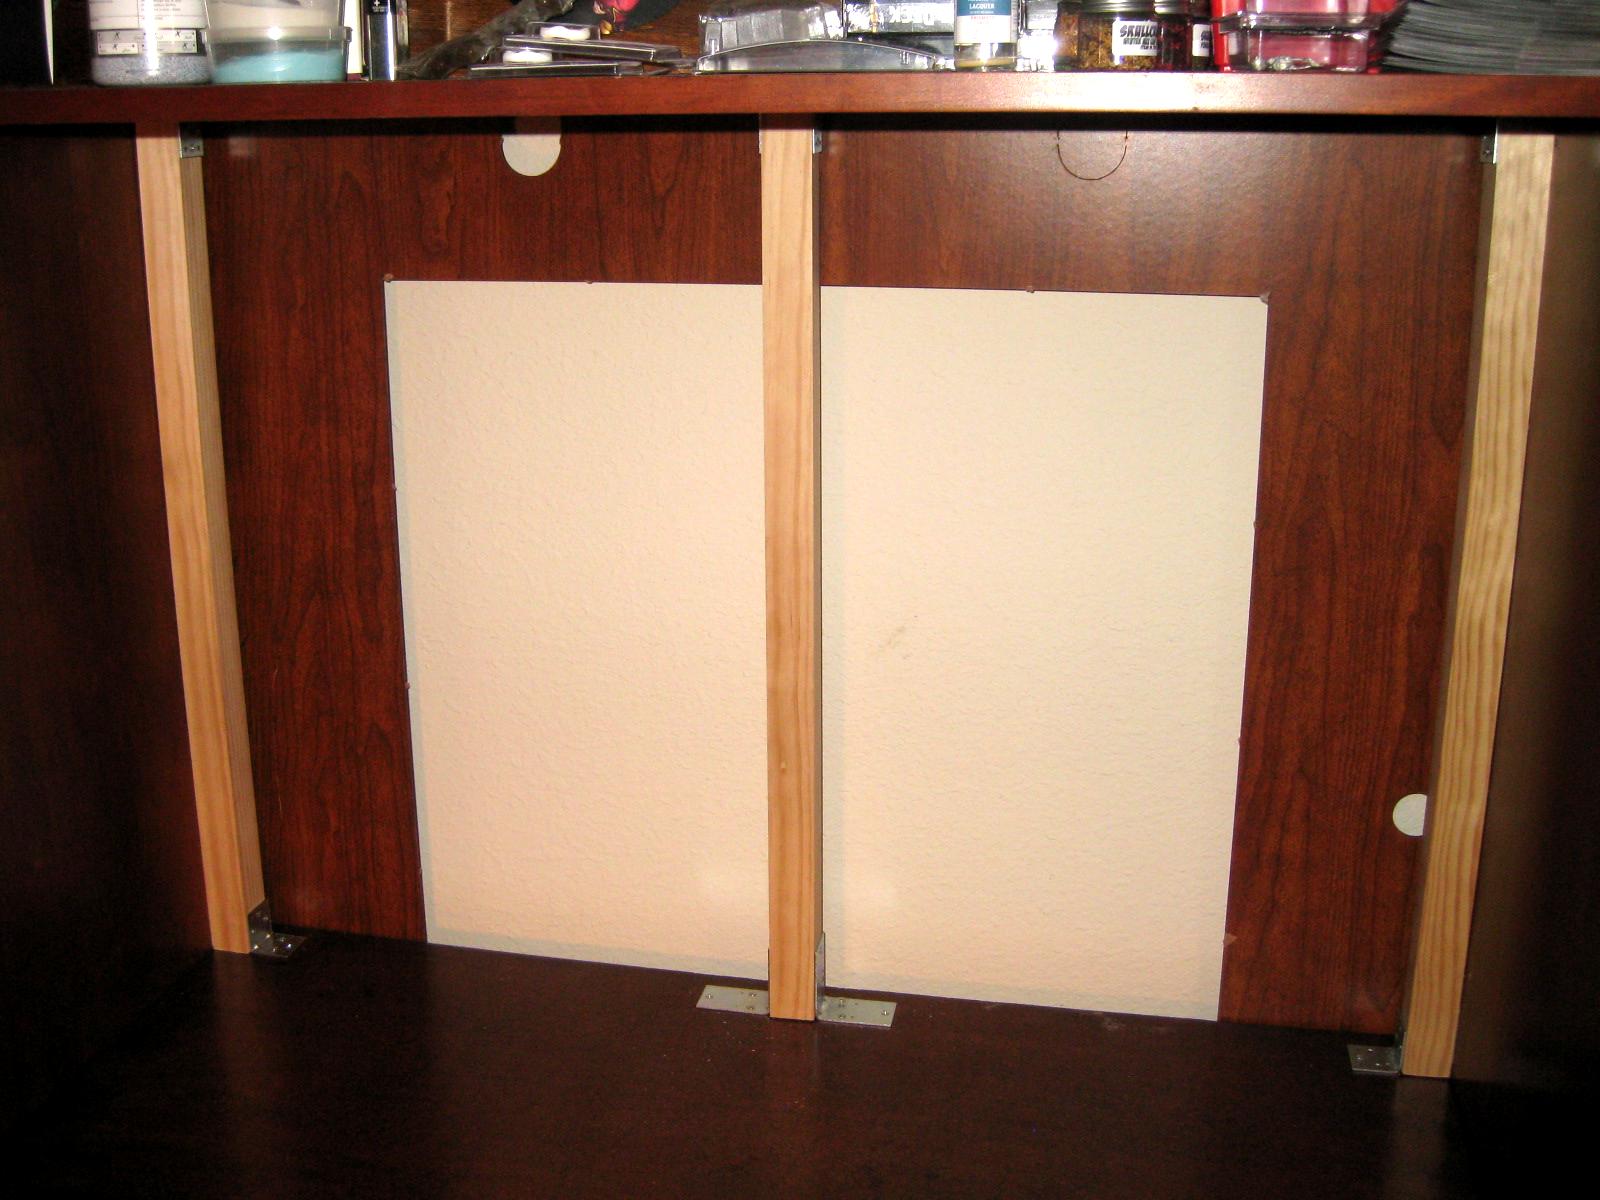
I framed out the back wall of the monolith with 2x2's and angle brackets. This supports a sheet of pegboard, cut to fit the peculiar (read: not quite square) interior dimensions.
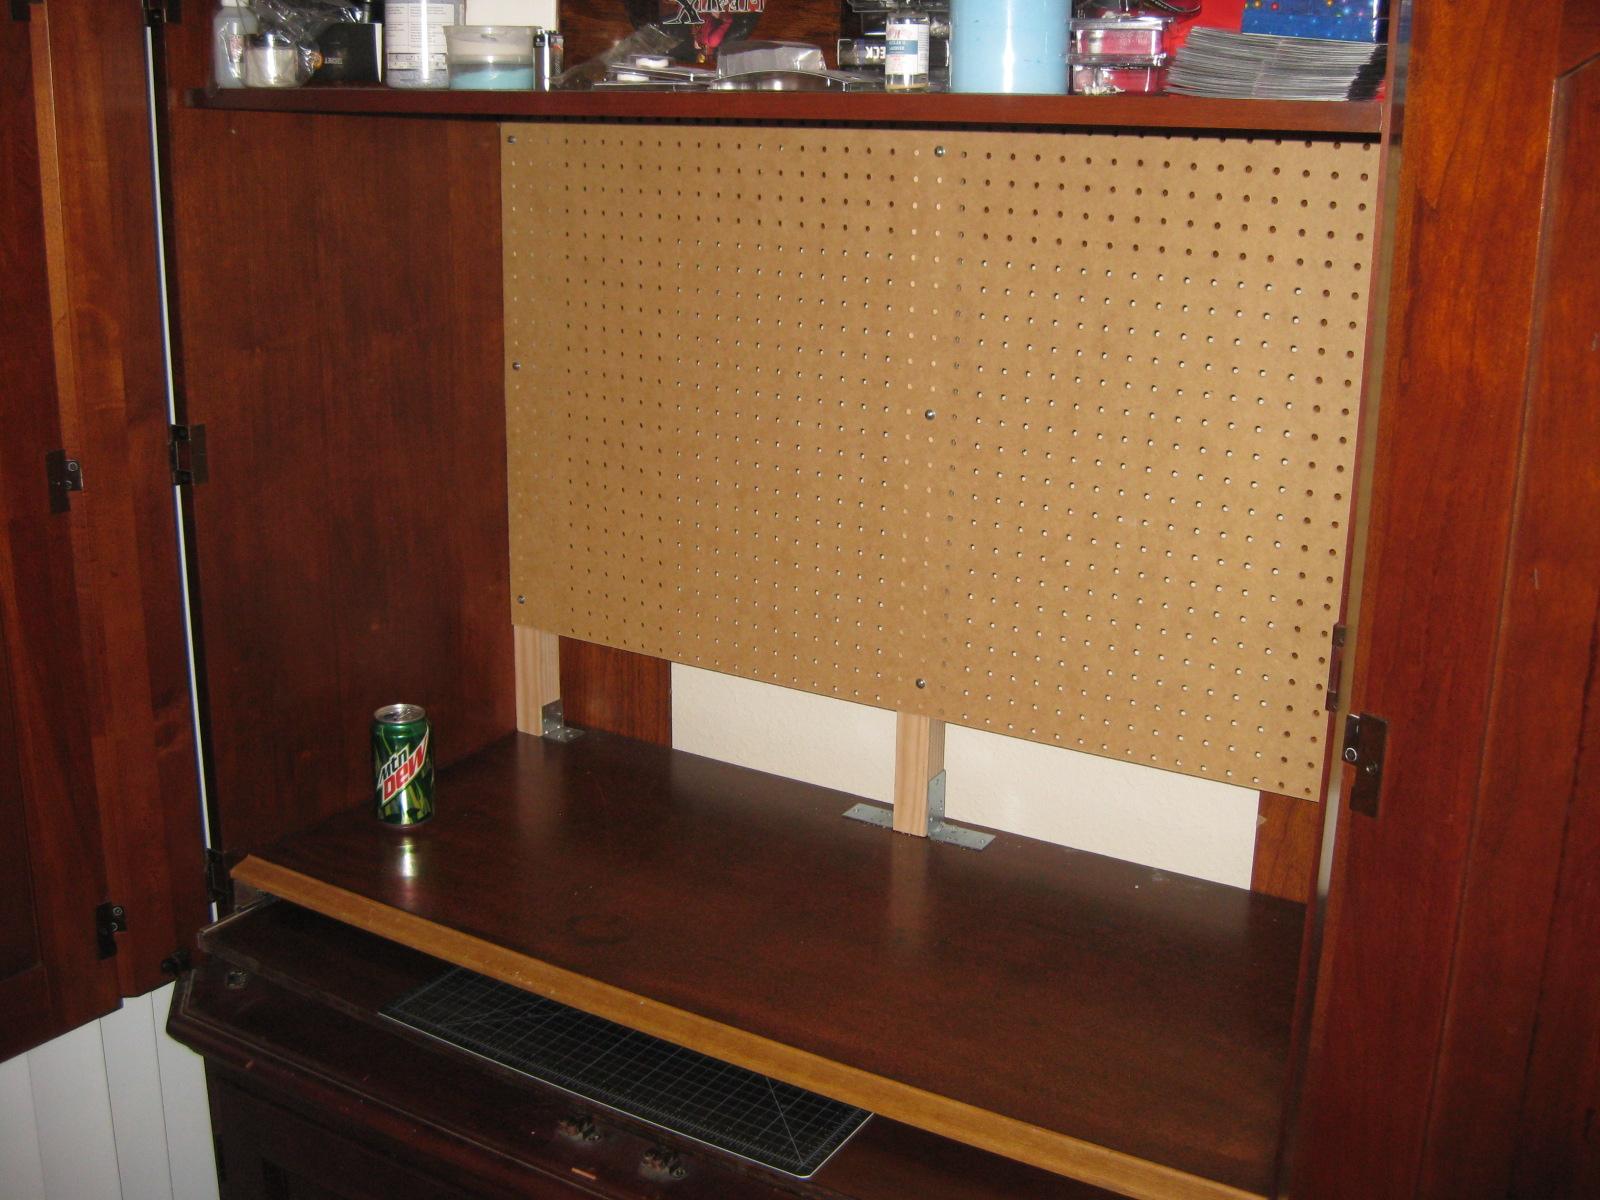 |
| Dew added for scale. Or I was just lazy, you decide. |
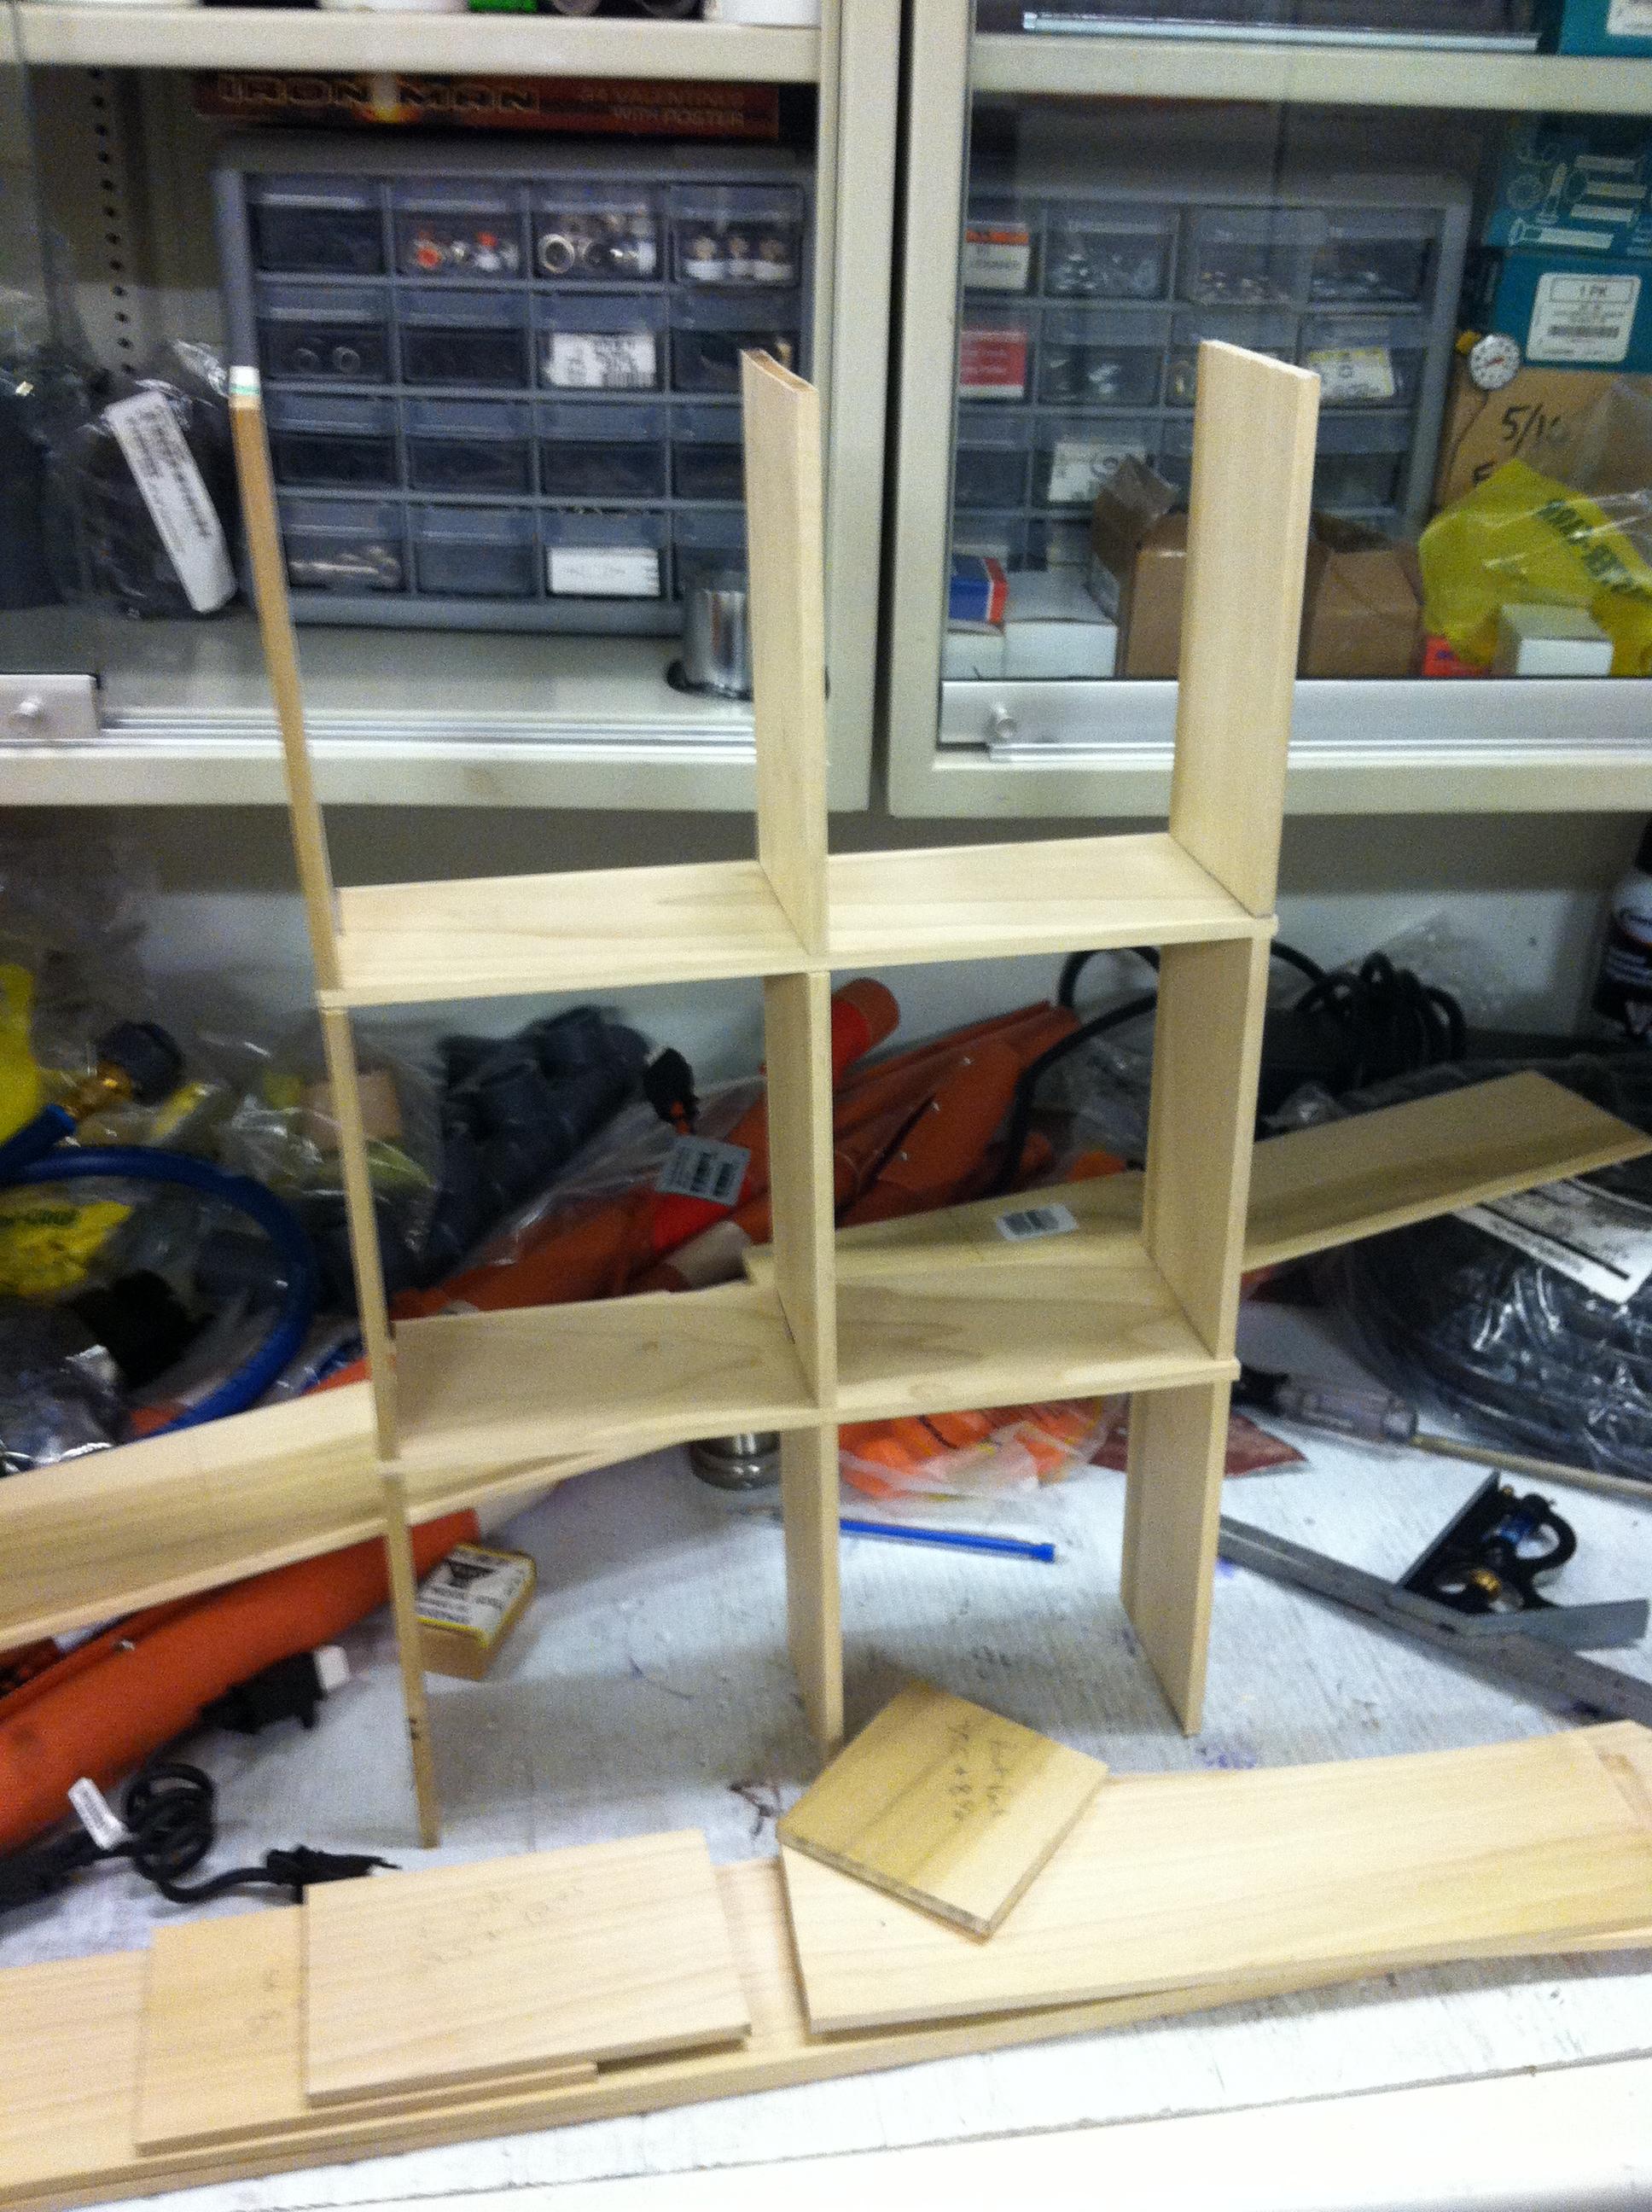 |
| The shelving! |
 |
| More shelving! |
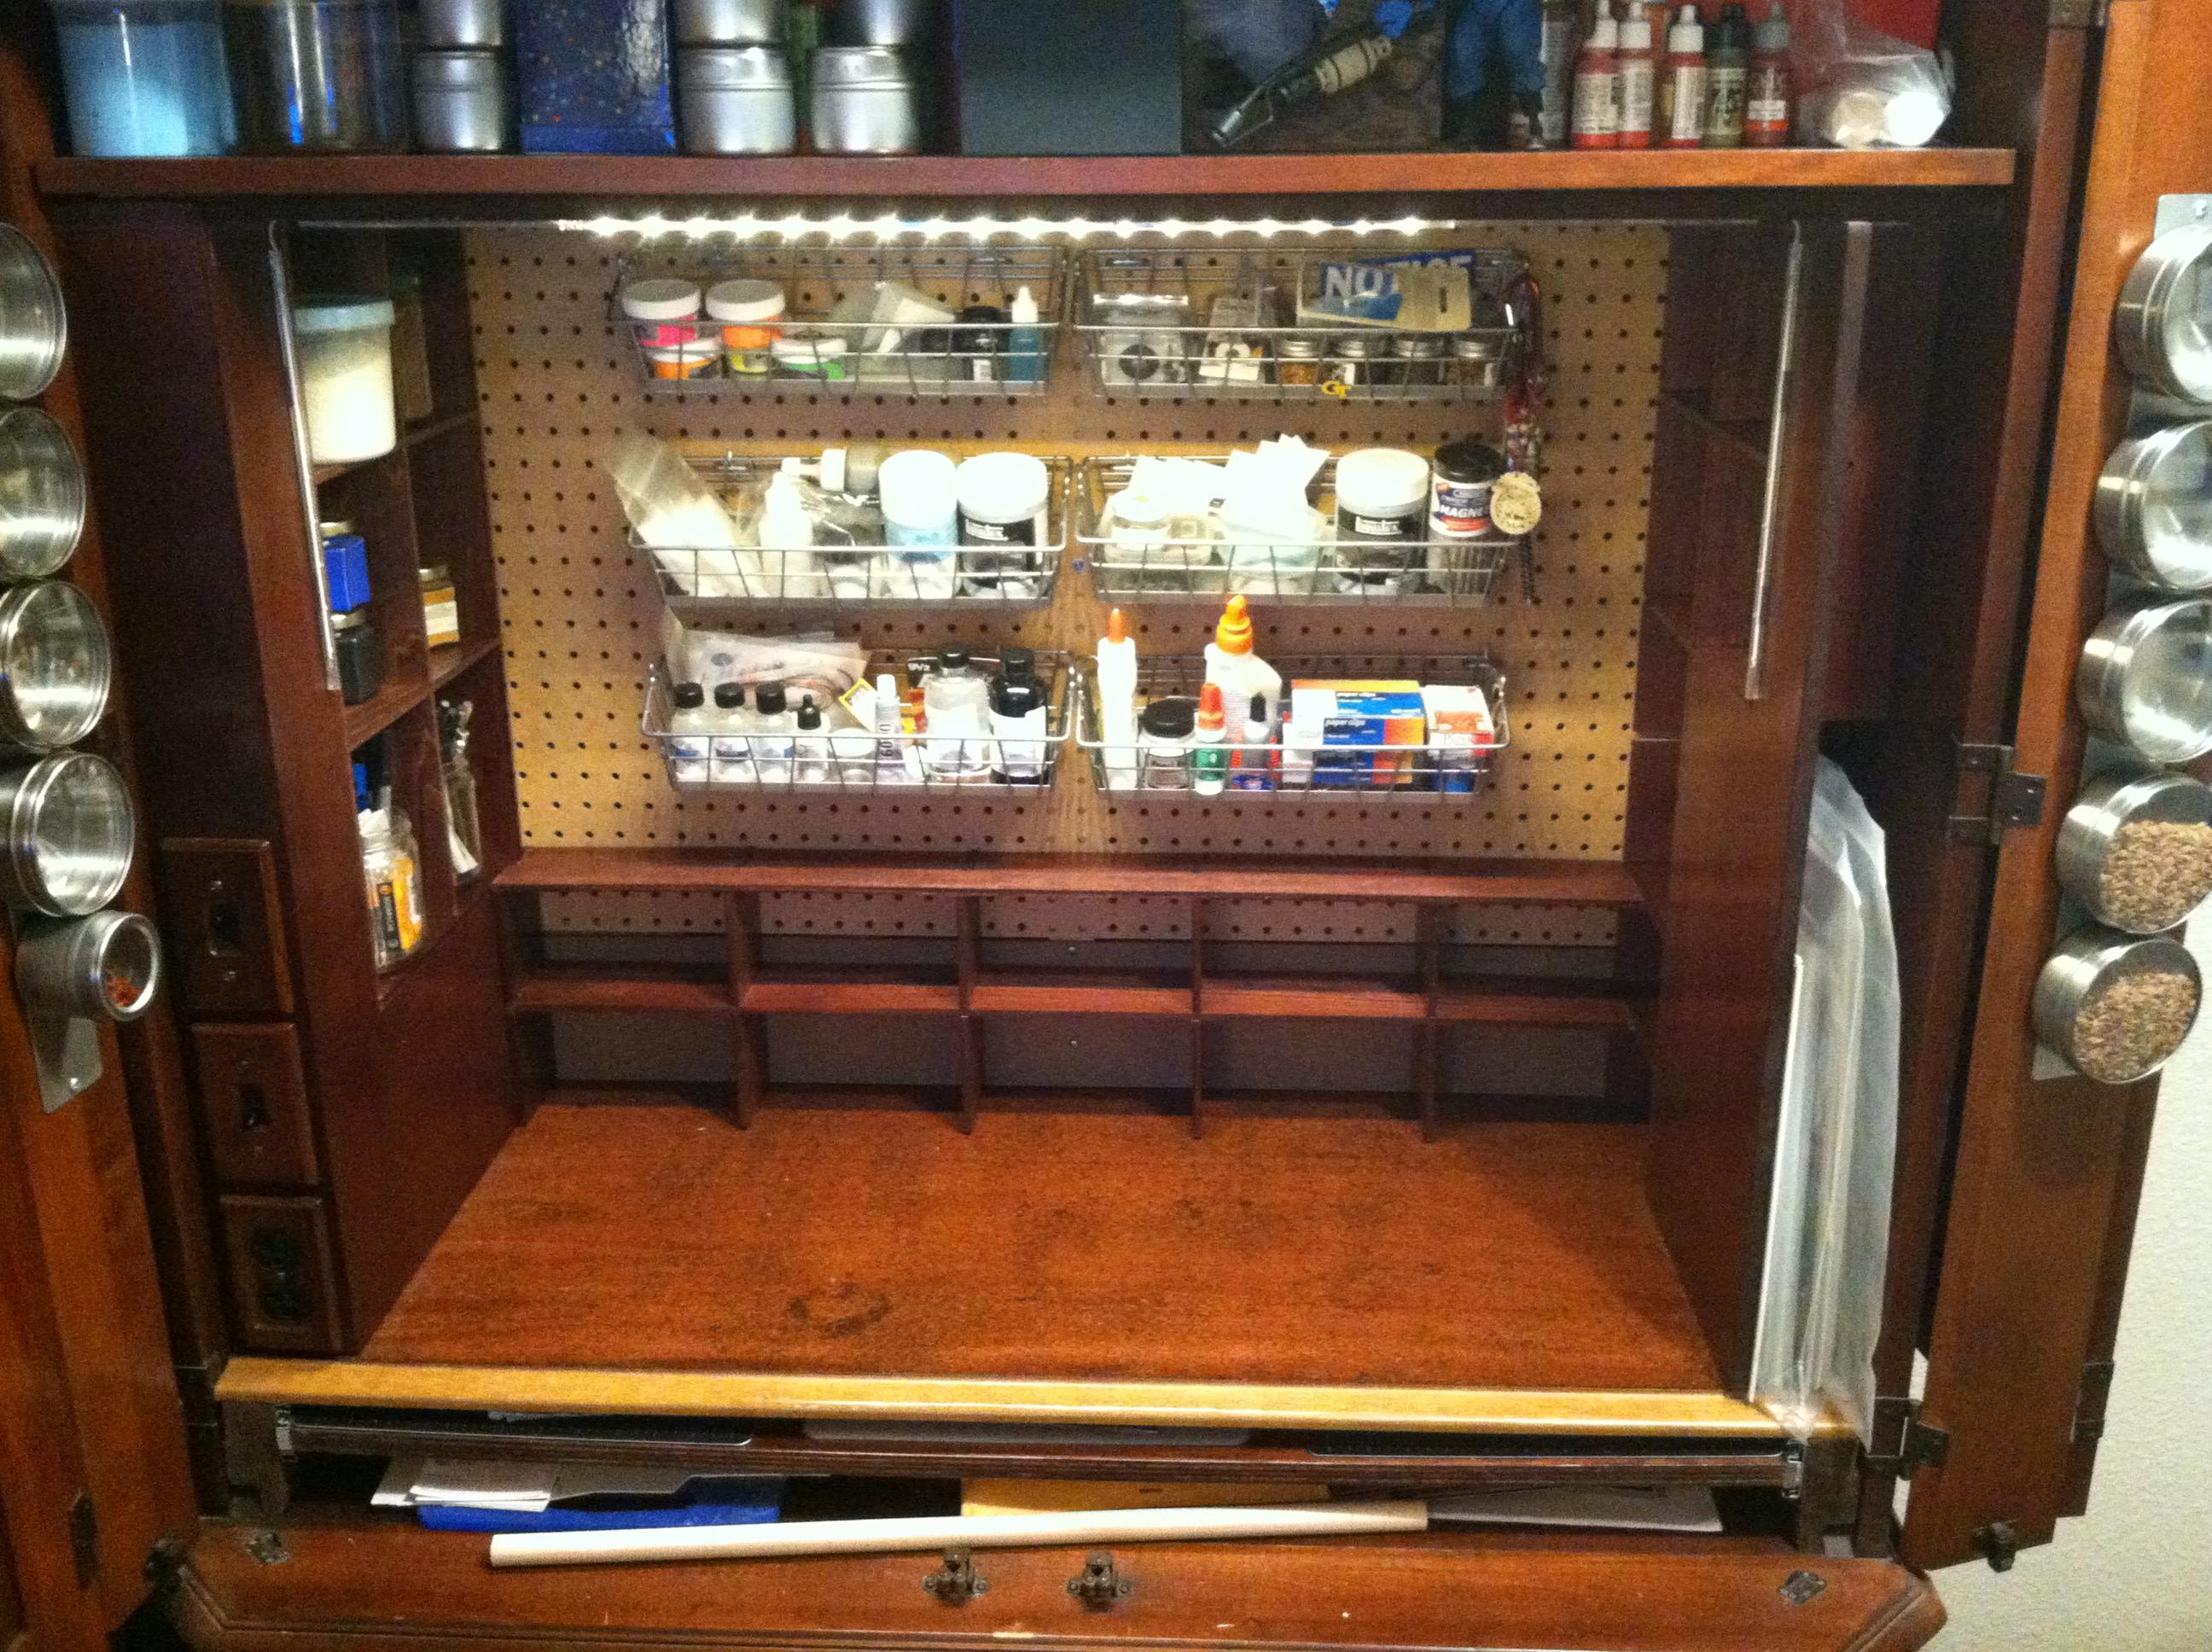
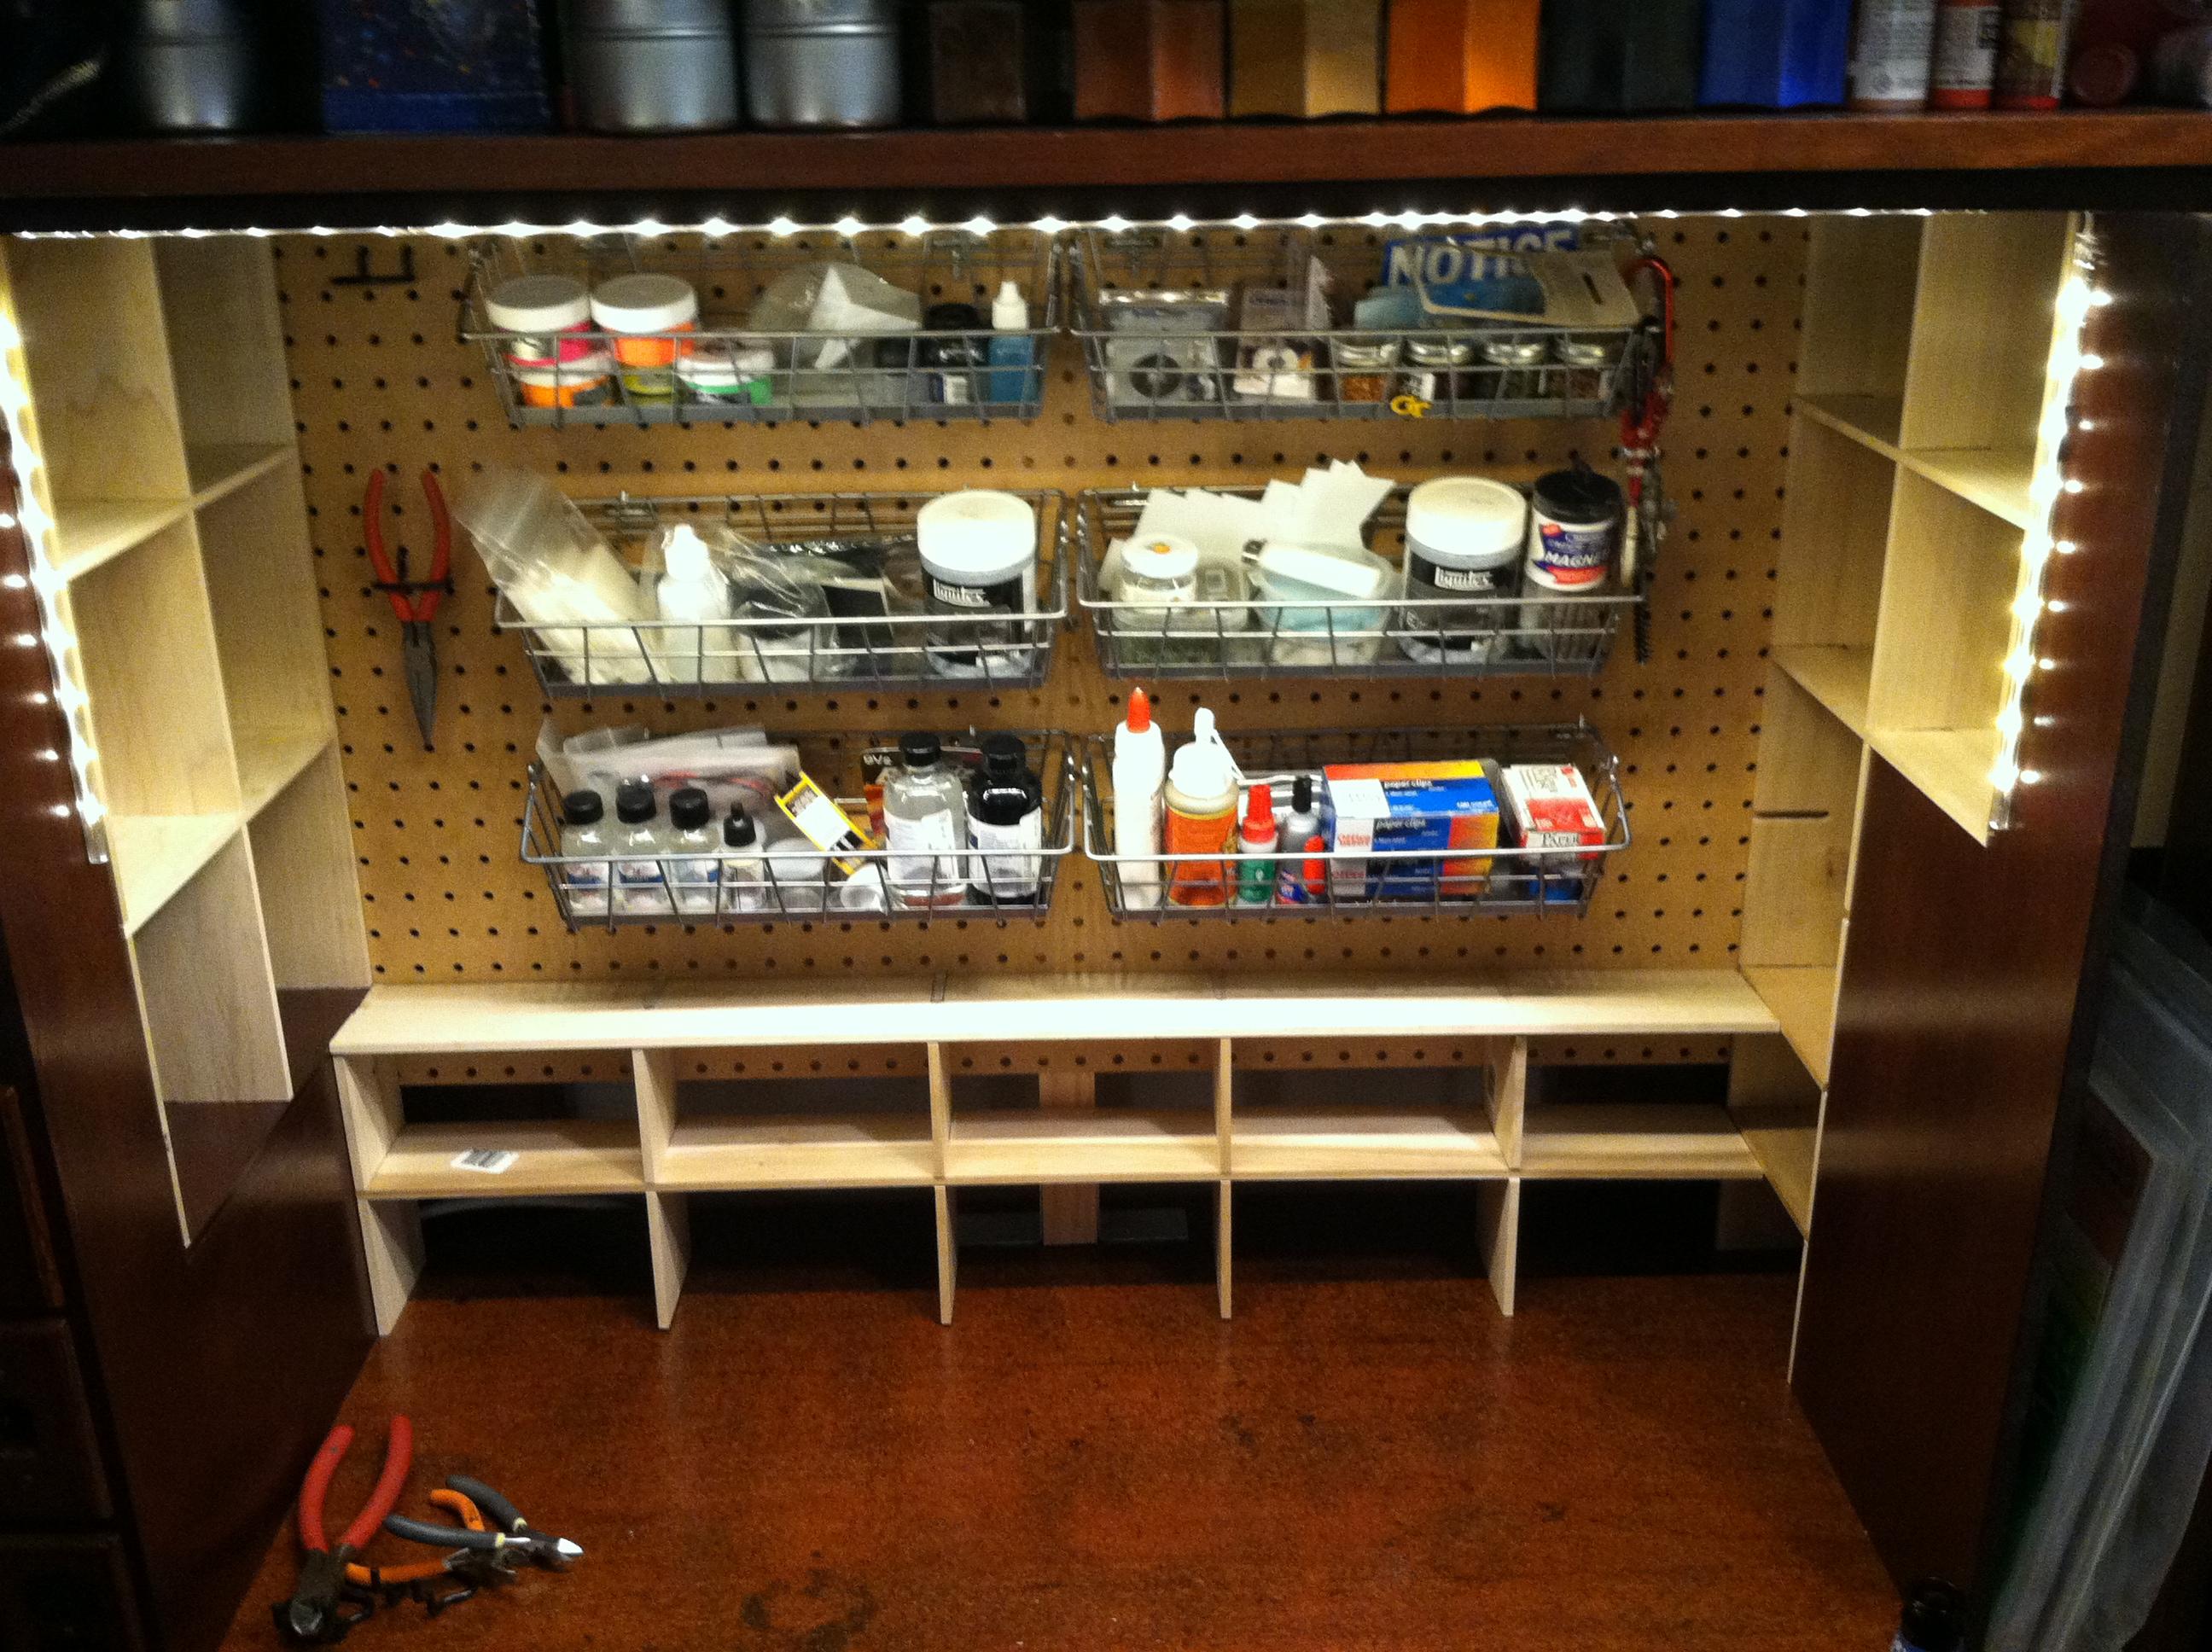
The shelving was stained to match and sealed, then slid into place. A tight friction fit holds them in place snugly. In the above photo you can better see the side walls and LED lighting. I also added round, magnetic storage containers, that proves excellent for lightweight basing materials.
The shelves were not empty for long...

If nothing else, this project illustrates that I have a thing for buying paints. The photo above shows roughly half of my paints, not pictured are washes, special effect paints, and the minitaire airbrush line. Those will eventually fill out the side shelves.
That's about it! I've since added more storage on the sidewalls (let's be honest, there are paintbrushes, sculpting tools, hobby knives, and more paintbrushes...) but I'll have to get better photos for a future update.
Until next time~
No comments:
Post a Comment