 |
| Been a while, time for an update! |
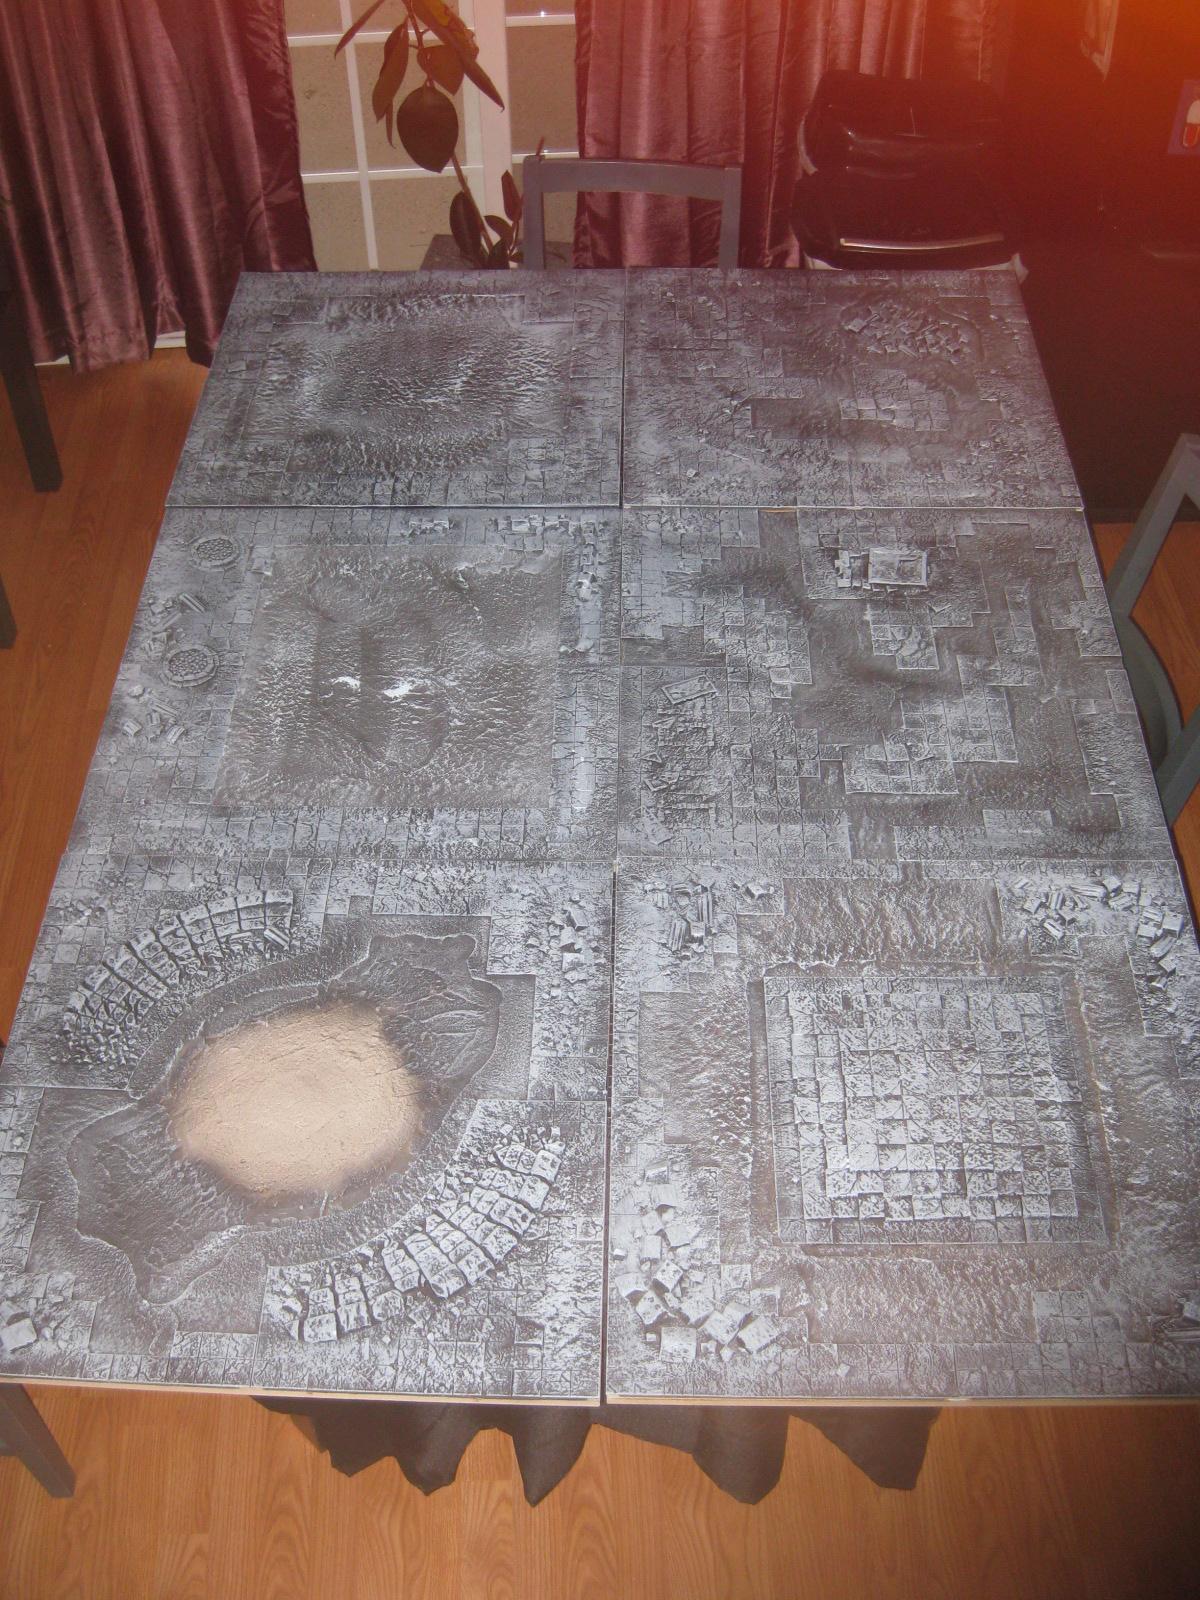 |
| Flaws sir! Faasands of em! |
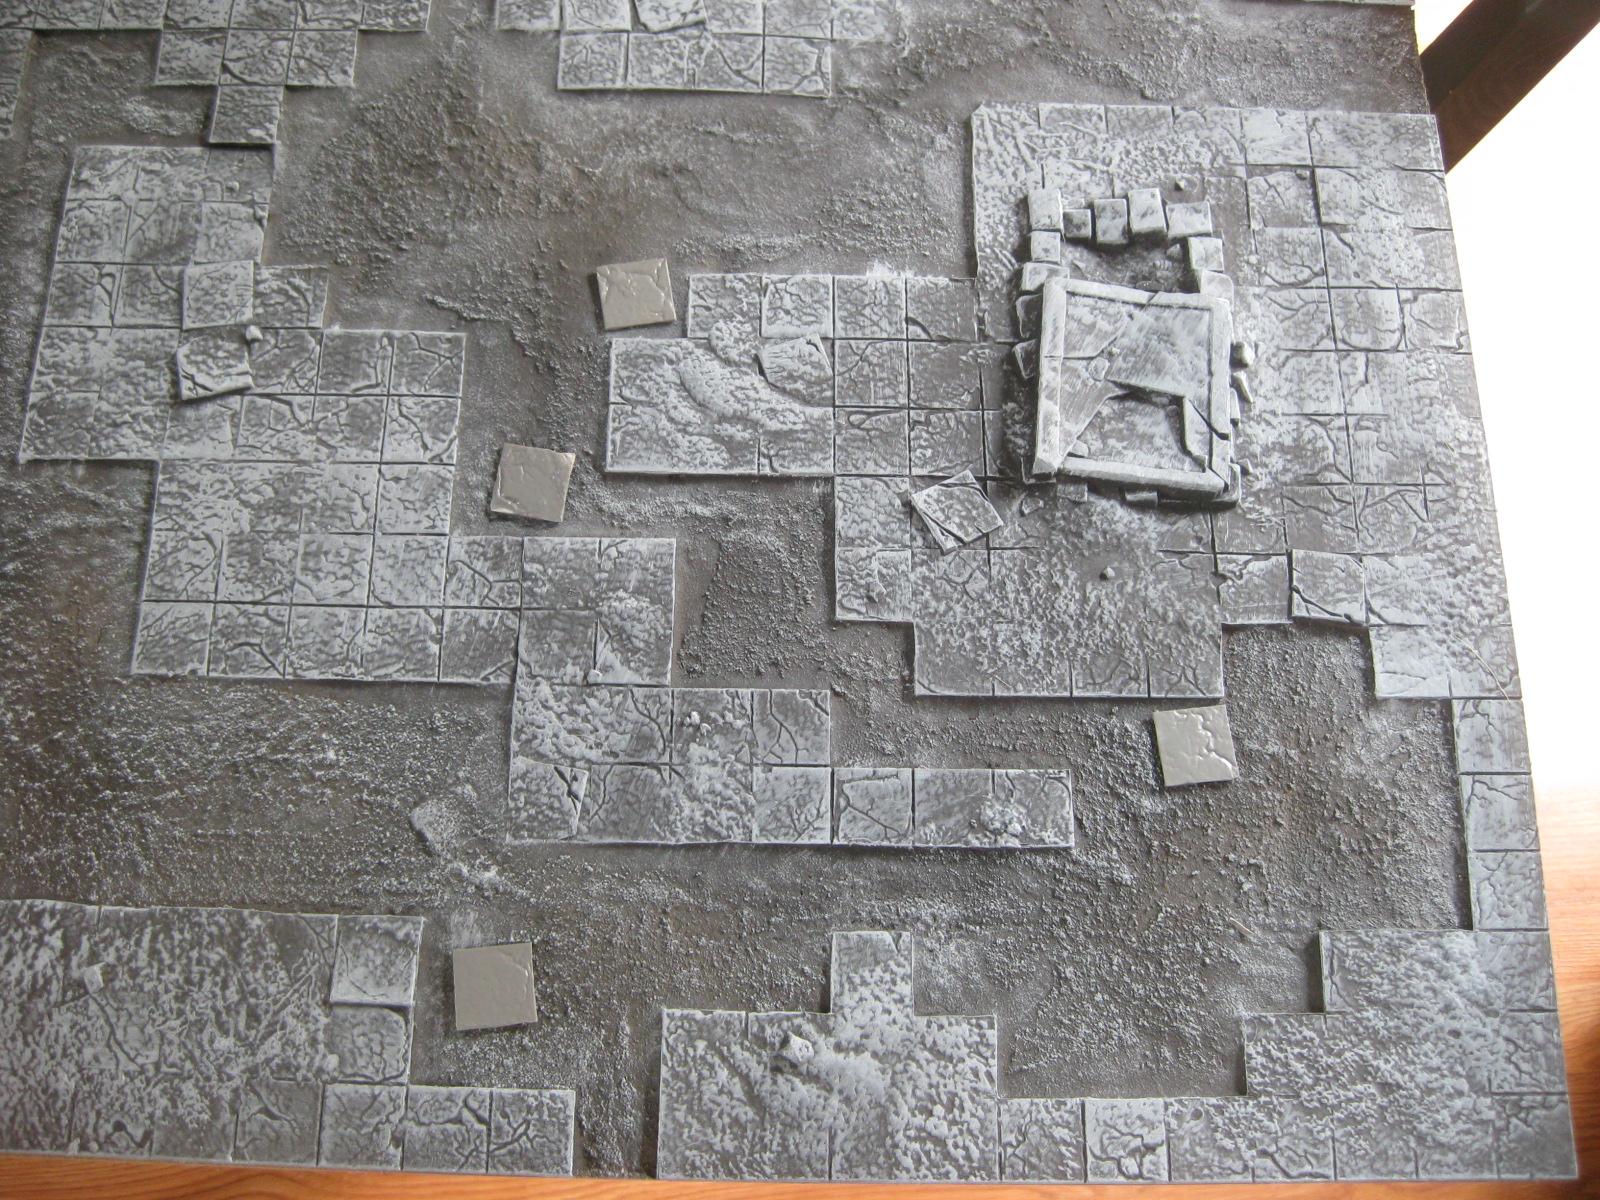
The first thing I noticed was a distinct lack of lone stone tiles. Every tile currently had a neighbor or three, so that had to be fixed. I chopped up the leftover bits of Tablescapes tiles, and set about throwing in random, lonely stones.

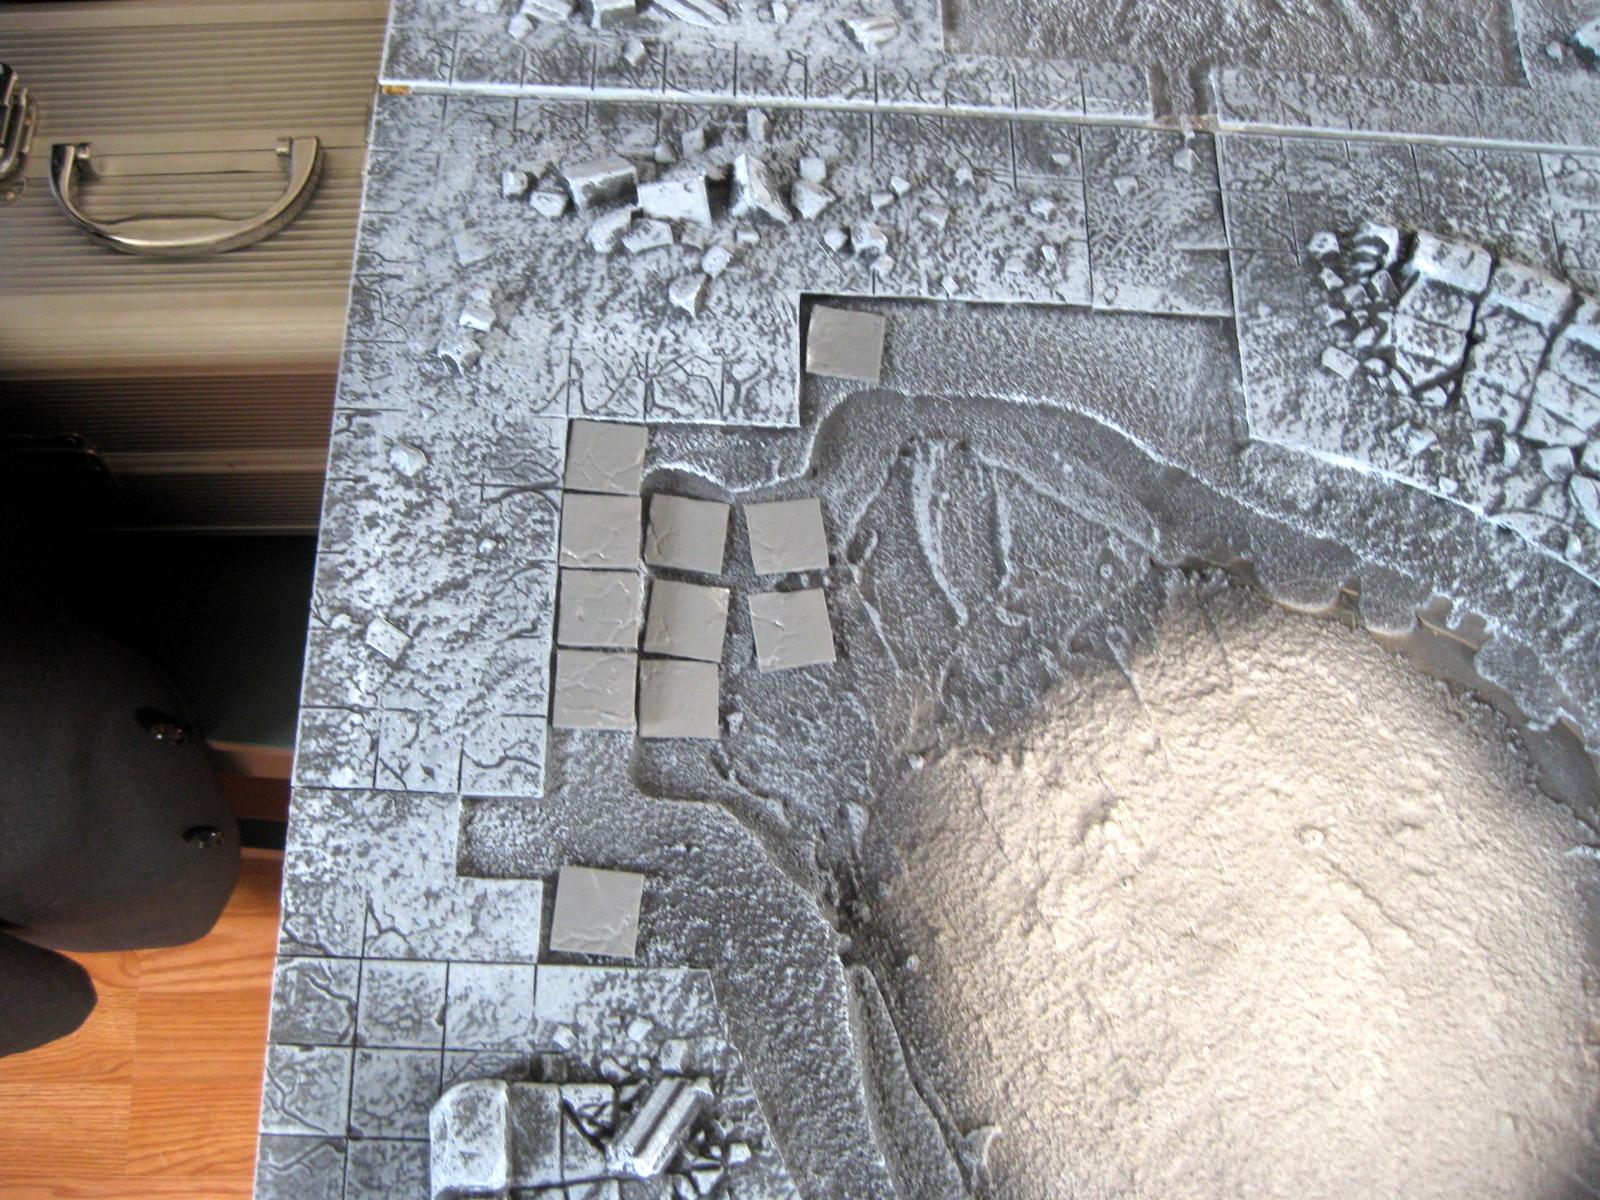
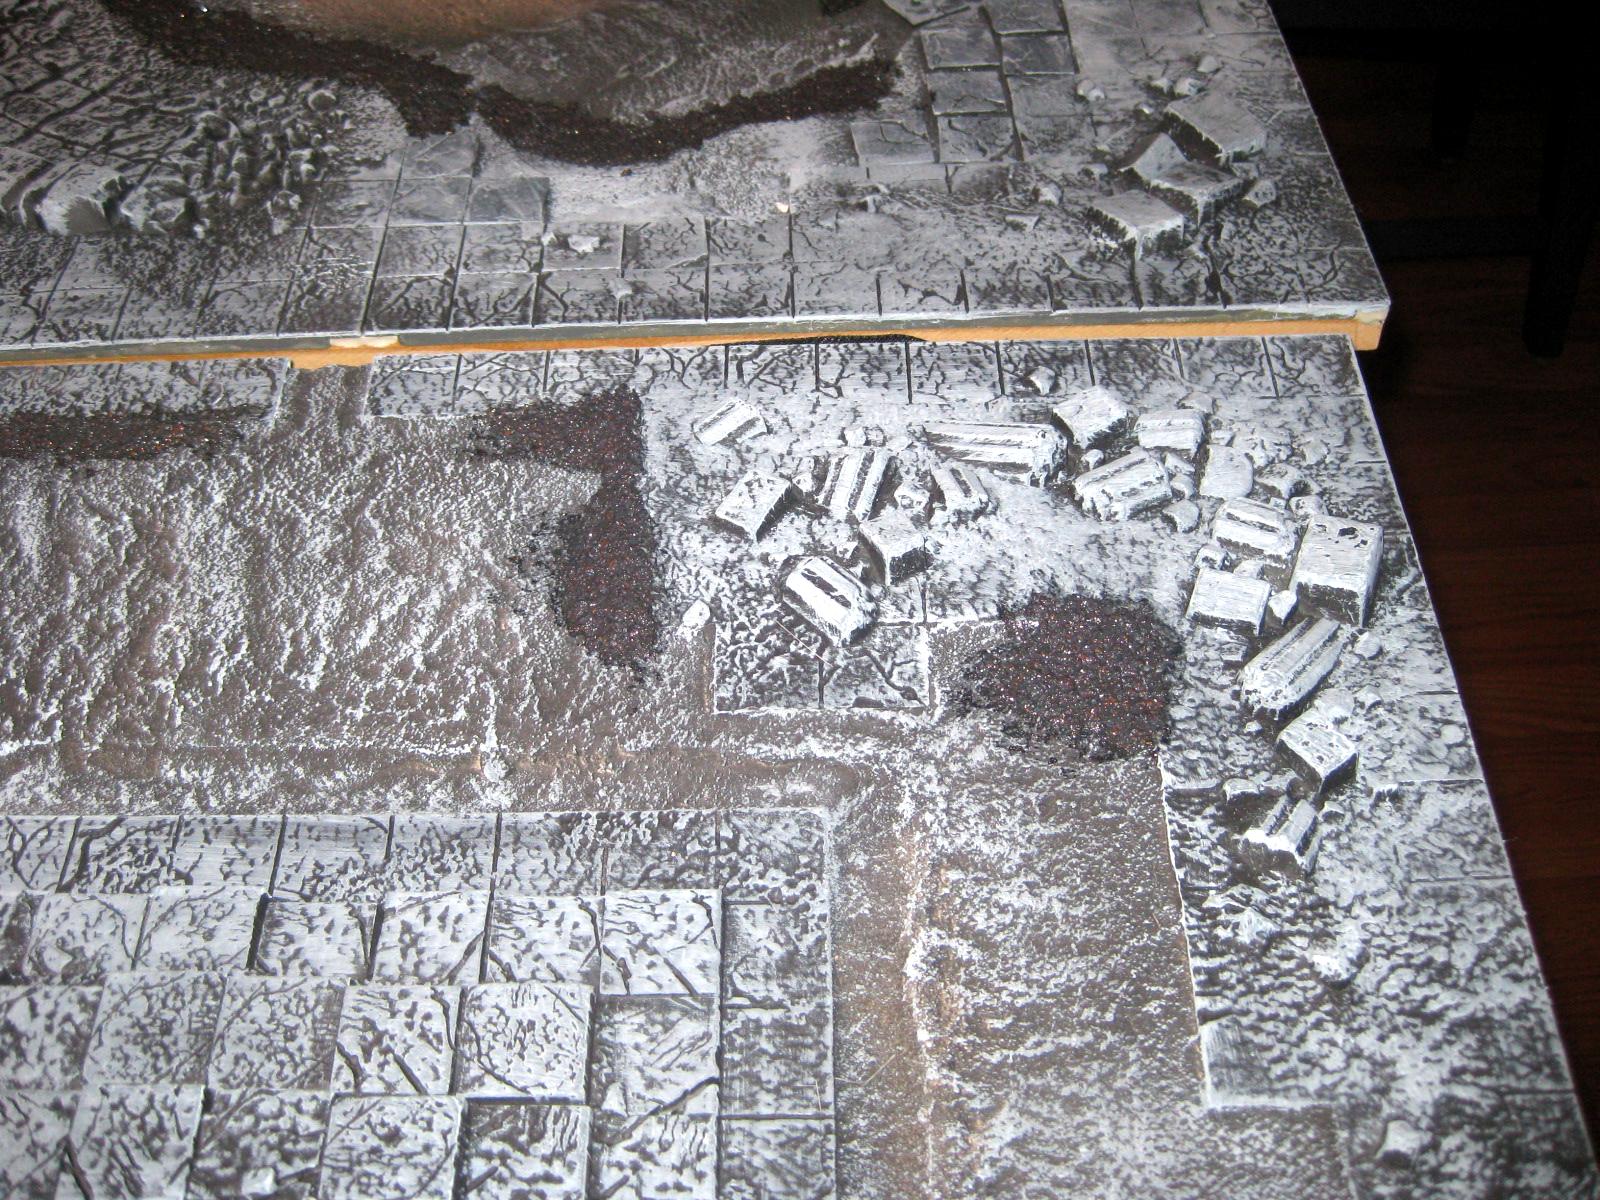
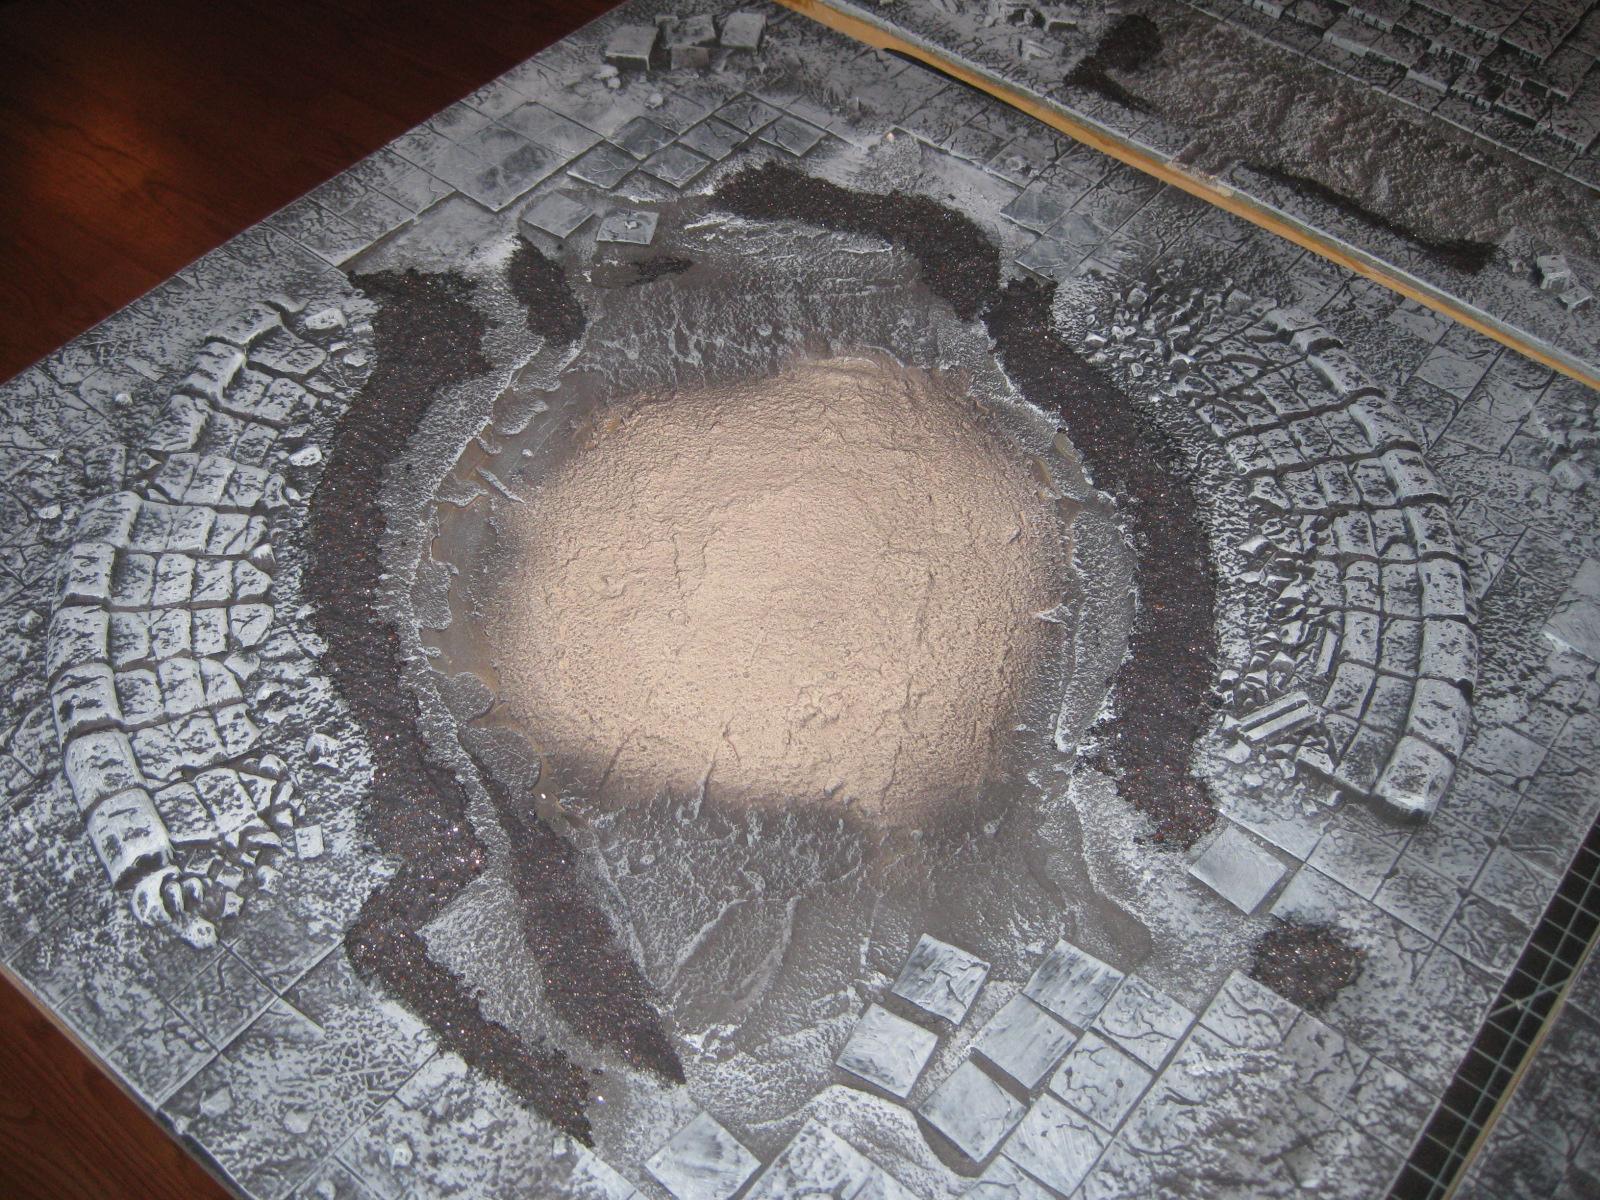
Another flaw I found: the earth and stone didn't blend together well in several places. I grabbed some trusty ingredients, and made a second texture paste.
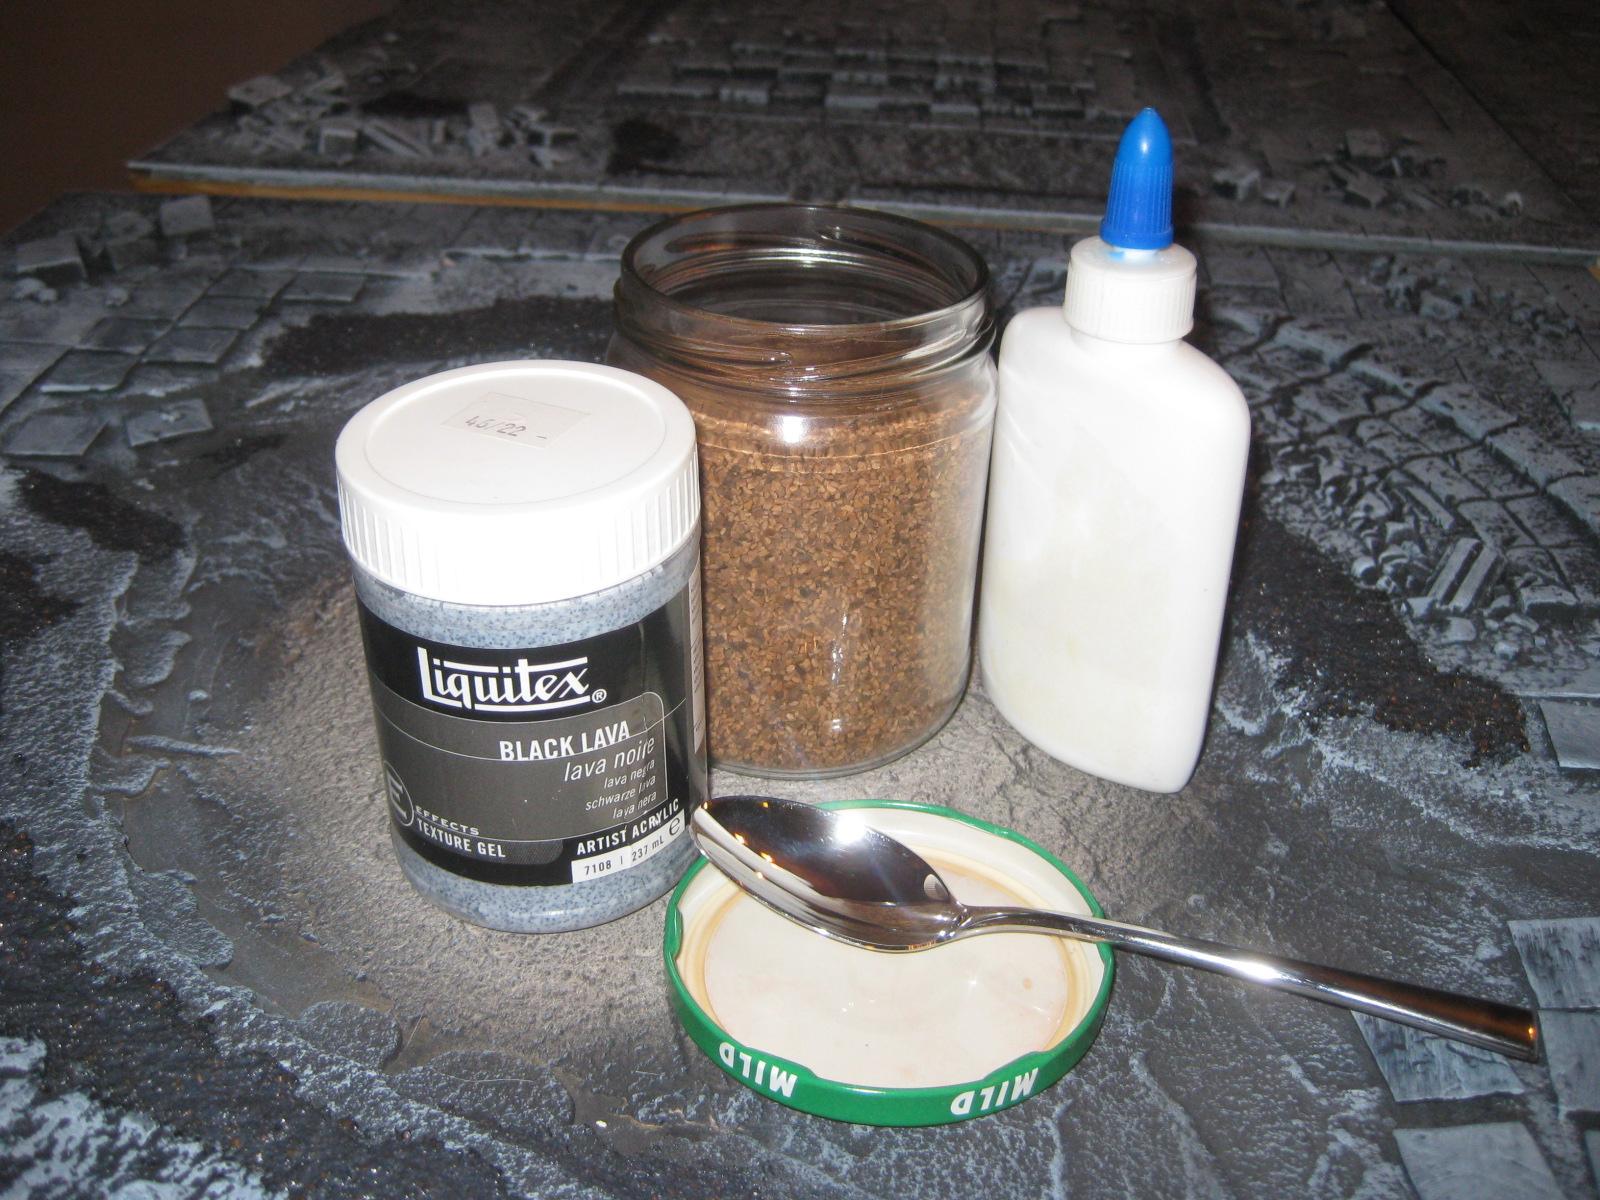 |
| I think PVA glue makes up at least 15% of this table now. |
This paste was applied liberally, to smooth out any Stone-to-Swamp transition areas.
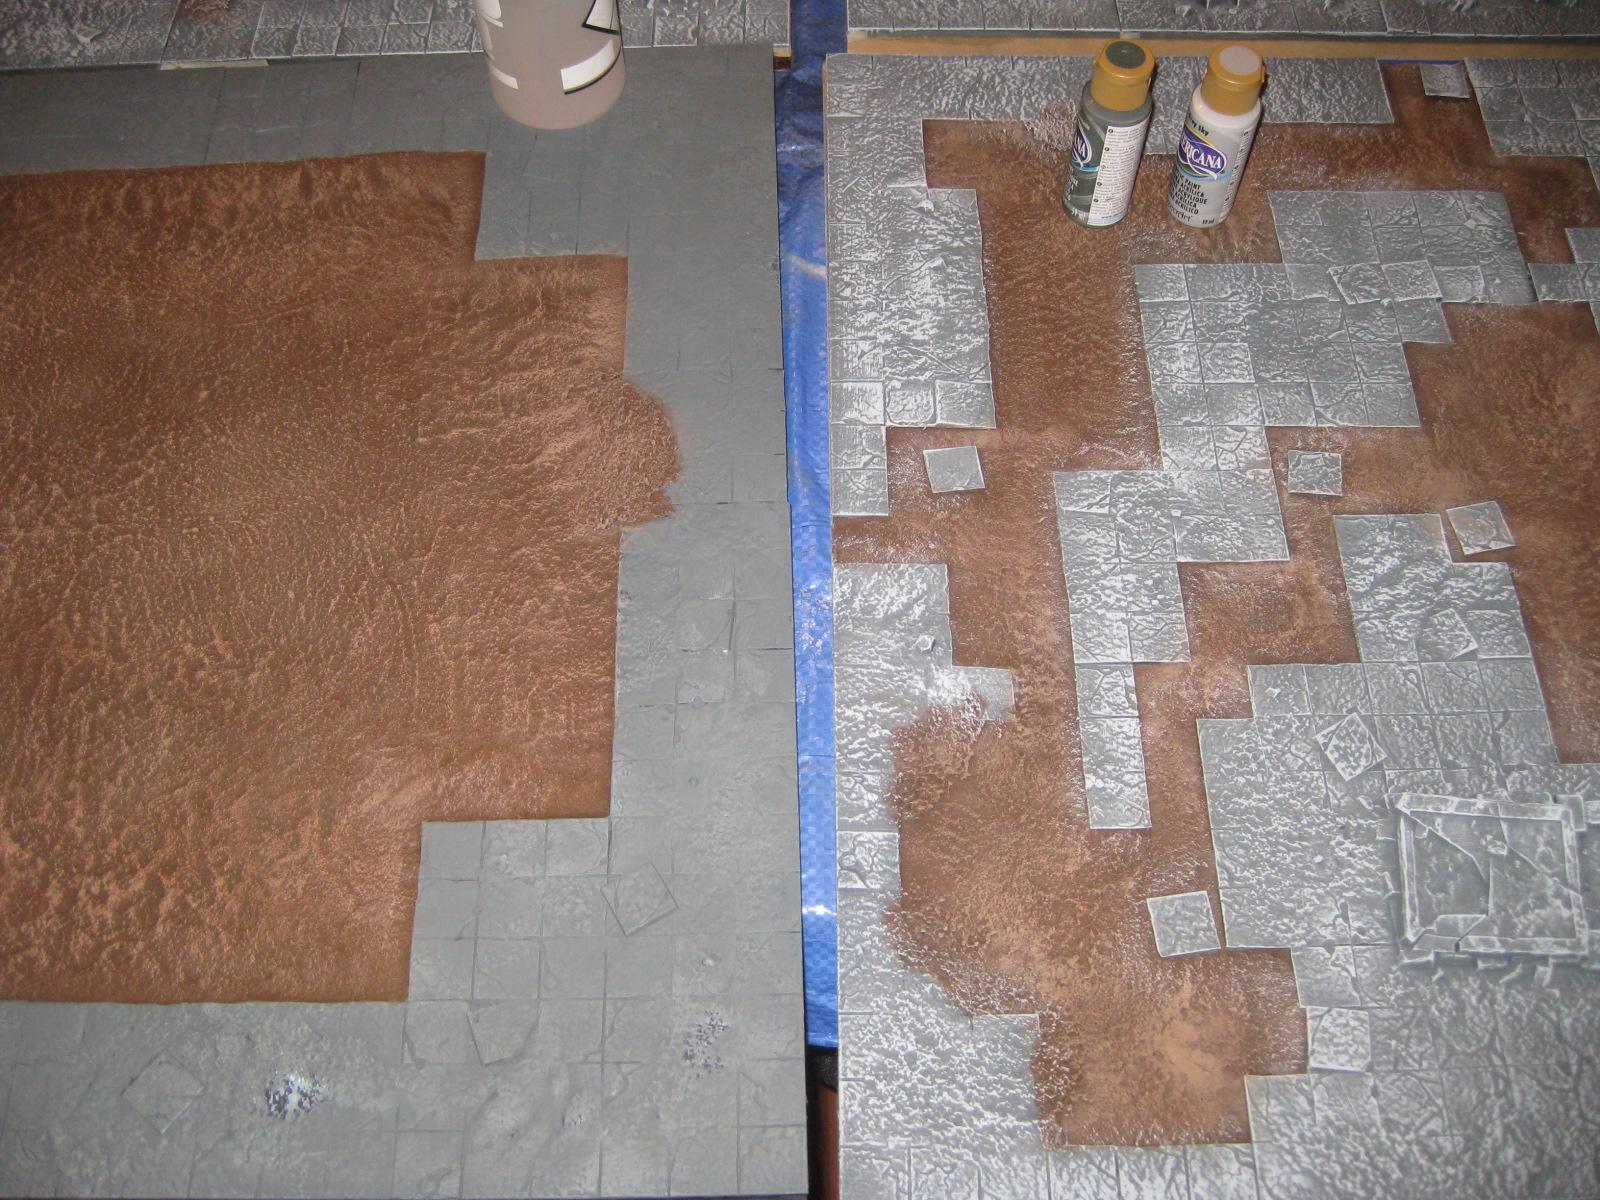
Following that, primer was touched up, all stonework was base coated with a true grey, and the swamp areas were given an initial coat of brown.
Up next: So much more painting. The stones need depth, hue variations, and highlights. The dirt needs depth and variety, and we must bring in a lot more green...
Until next time~
It's really helpful for me. Tiles are looking beautiful. Tiles are packed in beautiful boxes. I have seen the site The Product Boxes that gives you best custom printed retail packaging at wholesale rates with free shipment & many discount offers. Visit website now!
ReplyDelete