
Finish grad school? Check.
Get new job? Check.
Move to a new State? Check.
With all that boring grown-up stuff out of the way, it's time to get back to the hobby goodness. Let's start with my Tablescapes conversion project:
When I left off, I had just begun cutting the tiles into lots of tiny jagged parts. This might sound like blasphemy to some, but I can't assemble anything stock, truly. I'm at home cutting stuff up and putting it back together in ridiculous new ways, you should know this by now. So after meticulous planning and several sessions with a dremel and a face mask, I was left with bundles of color coded parts destined for their own 2'x2' reincarnation.
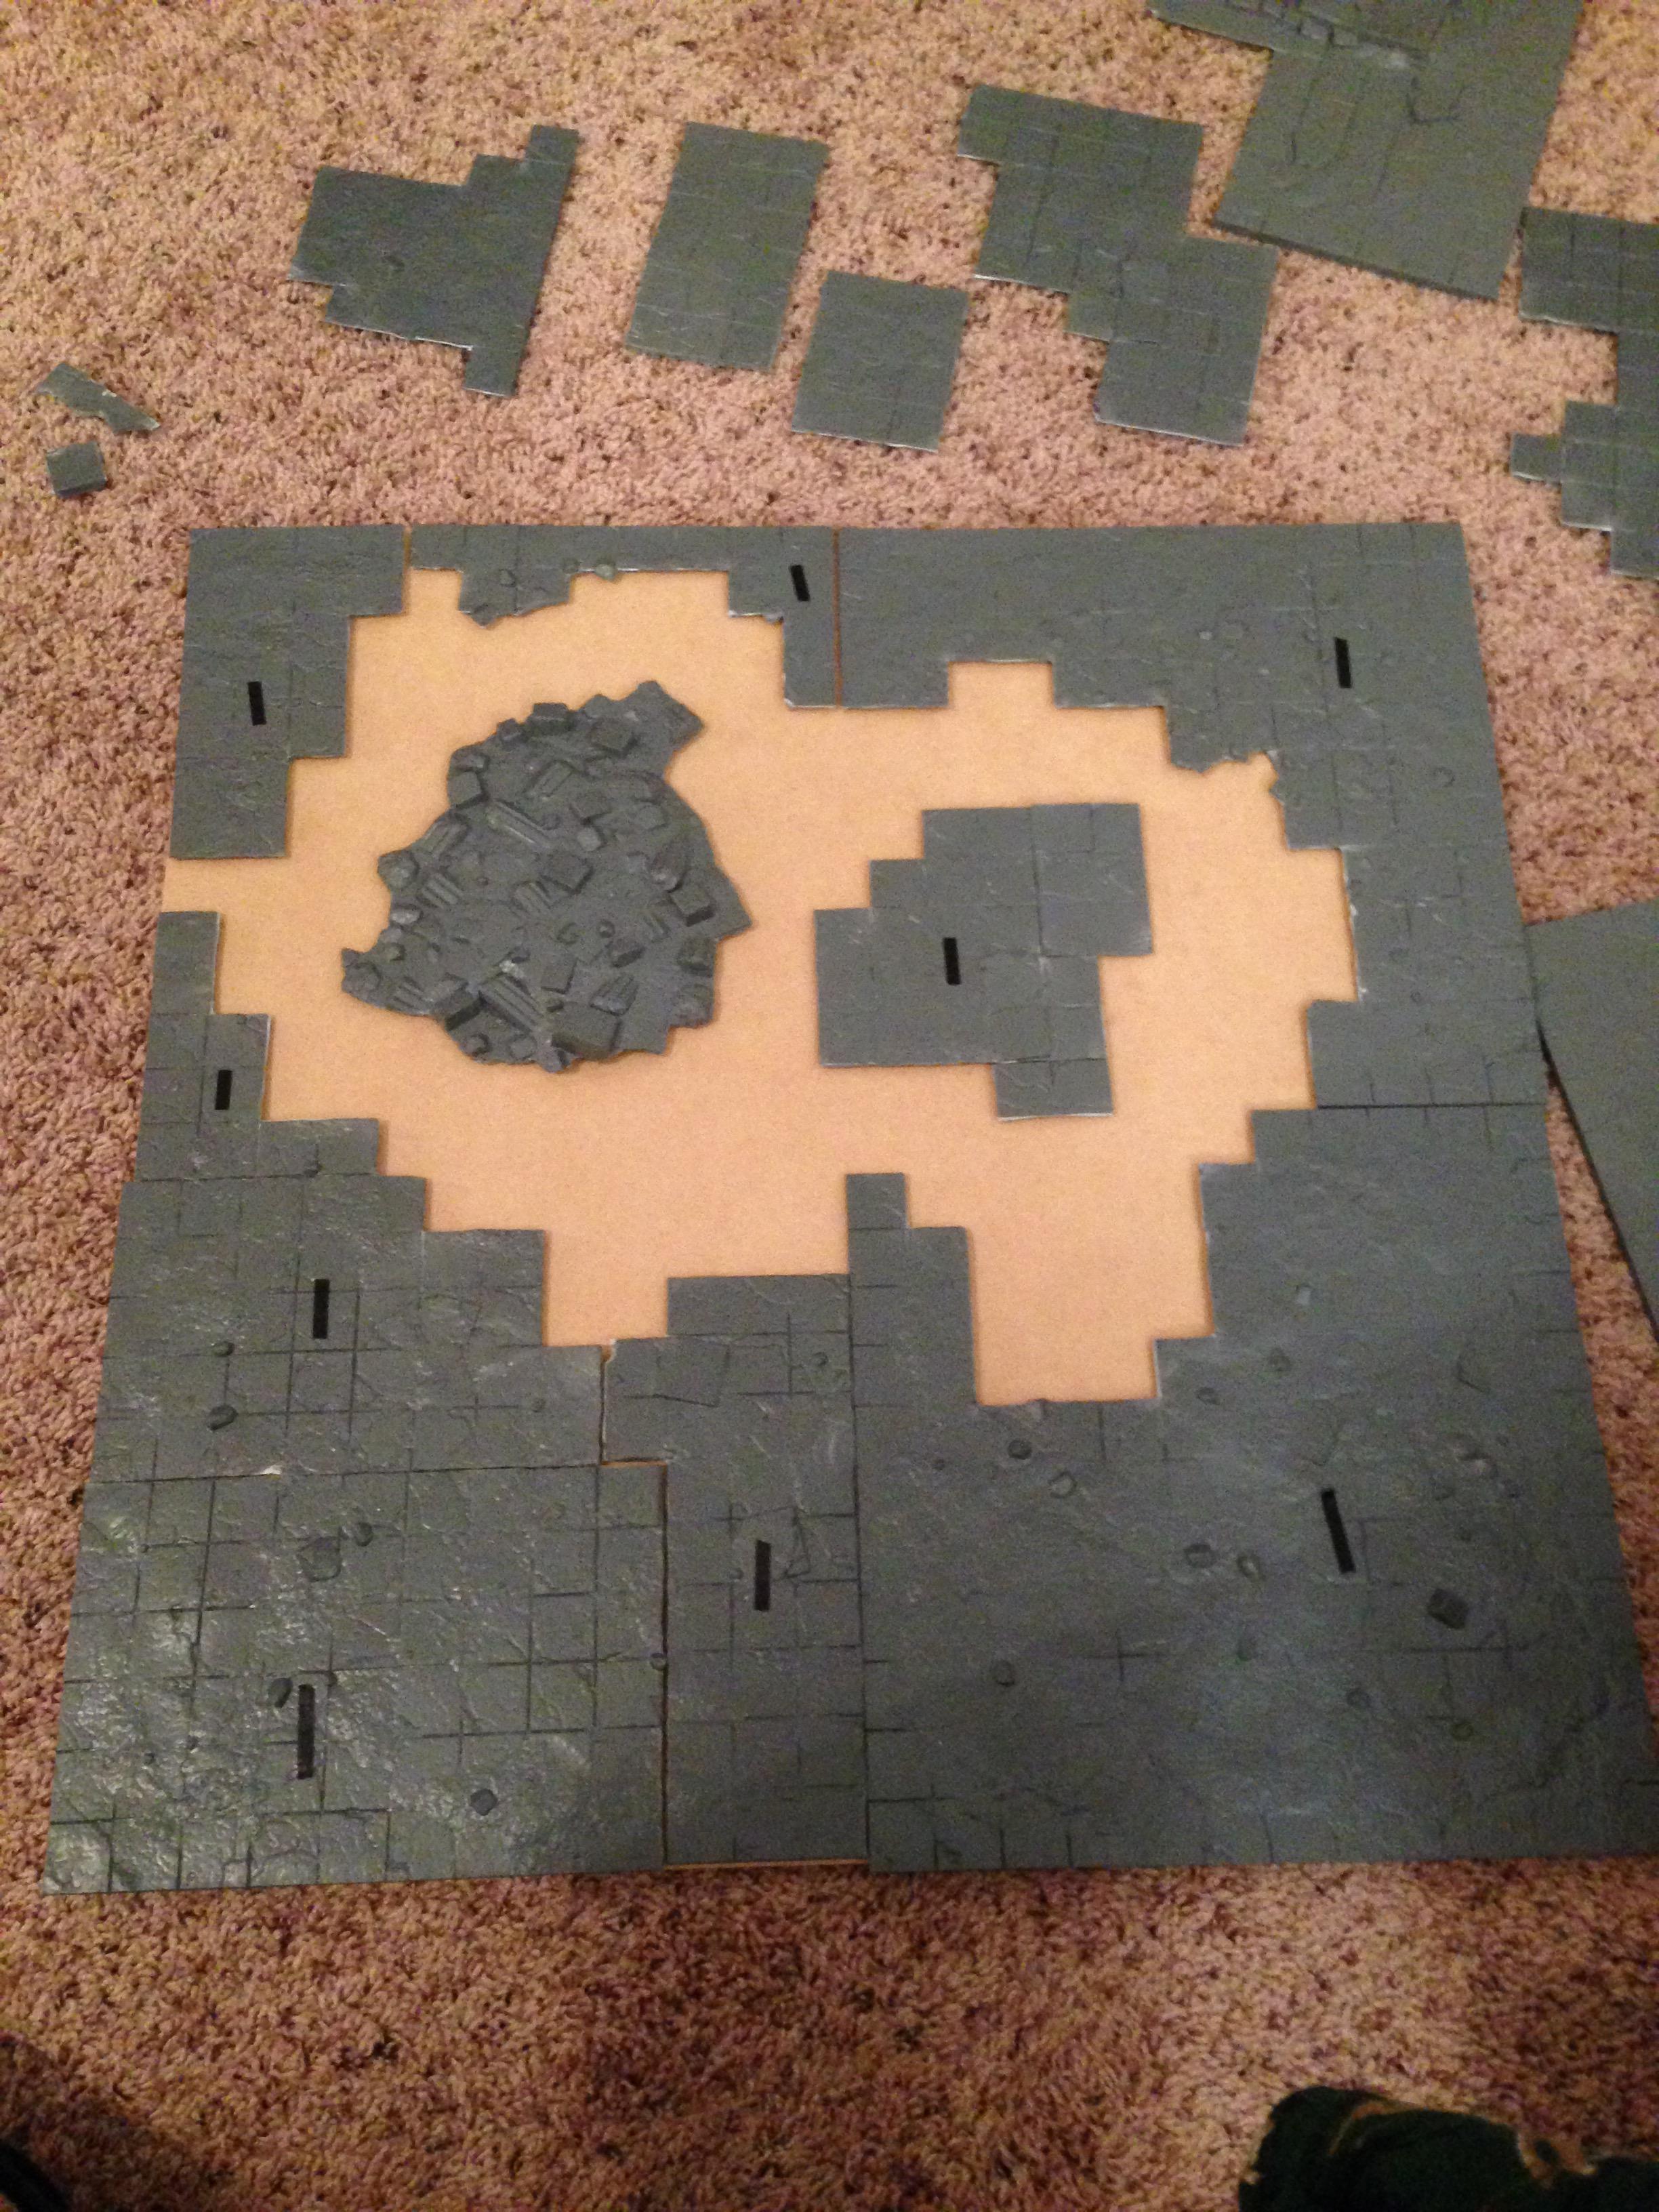 |
| Sunken Rubble in need of depth |
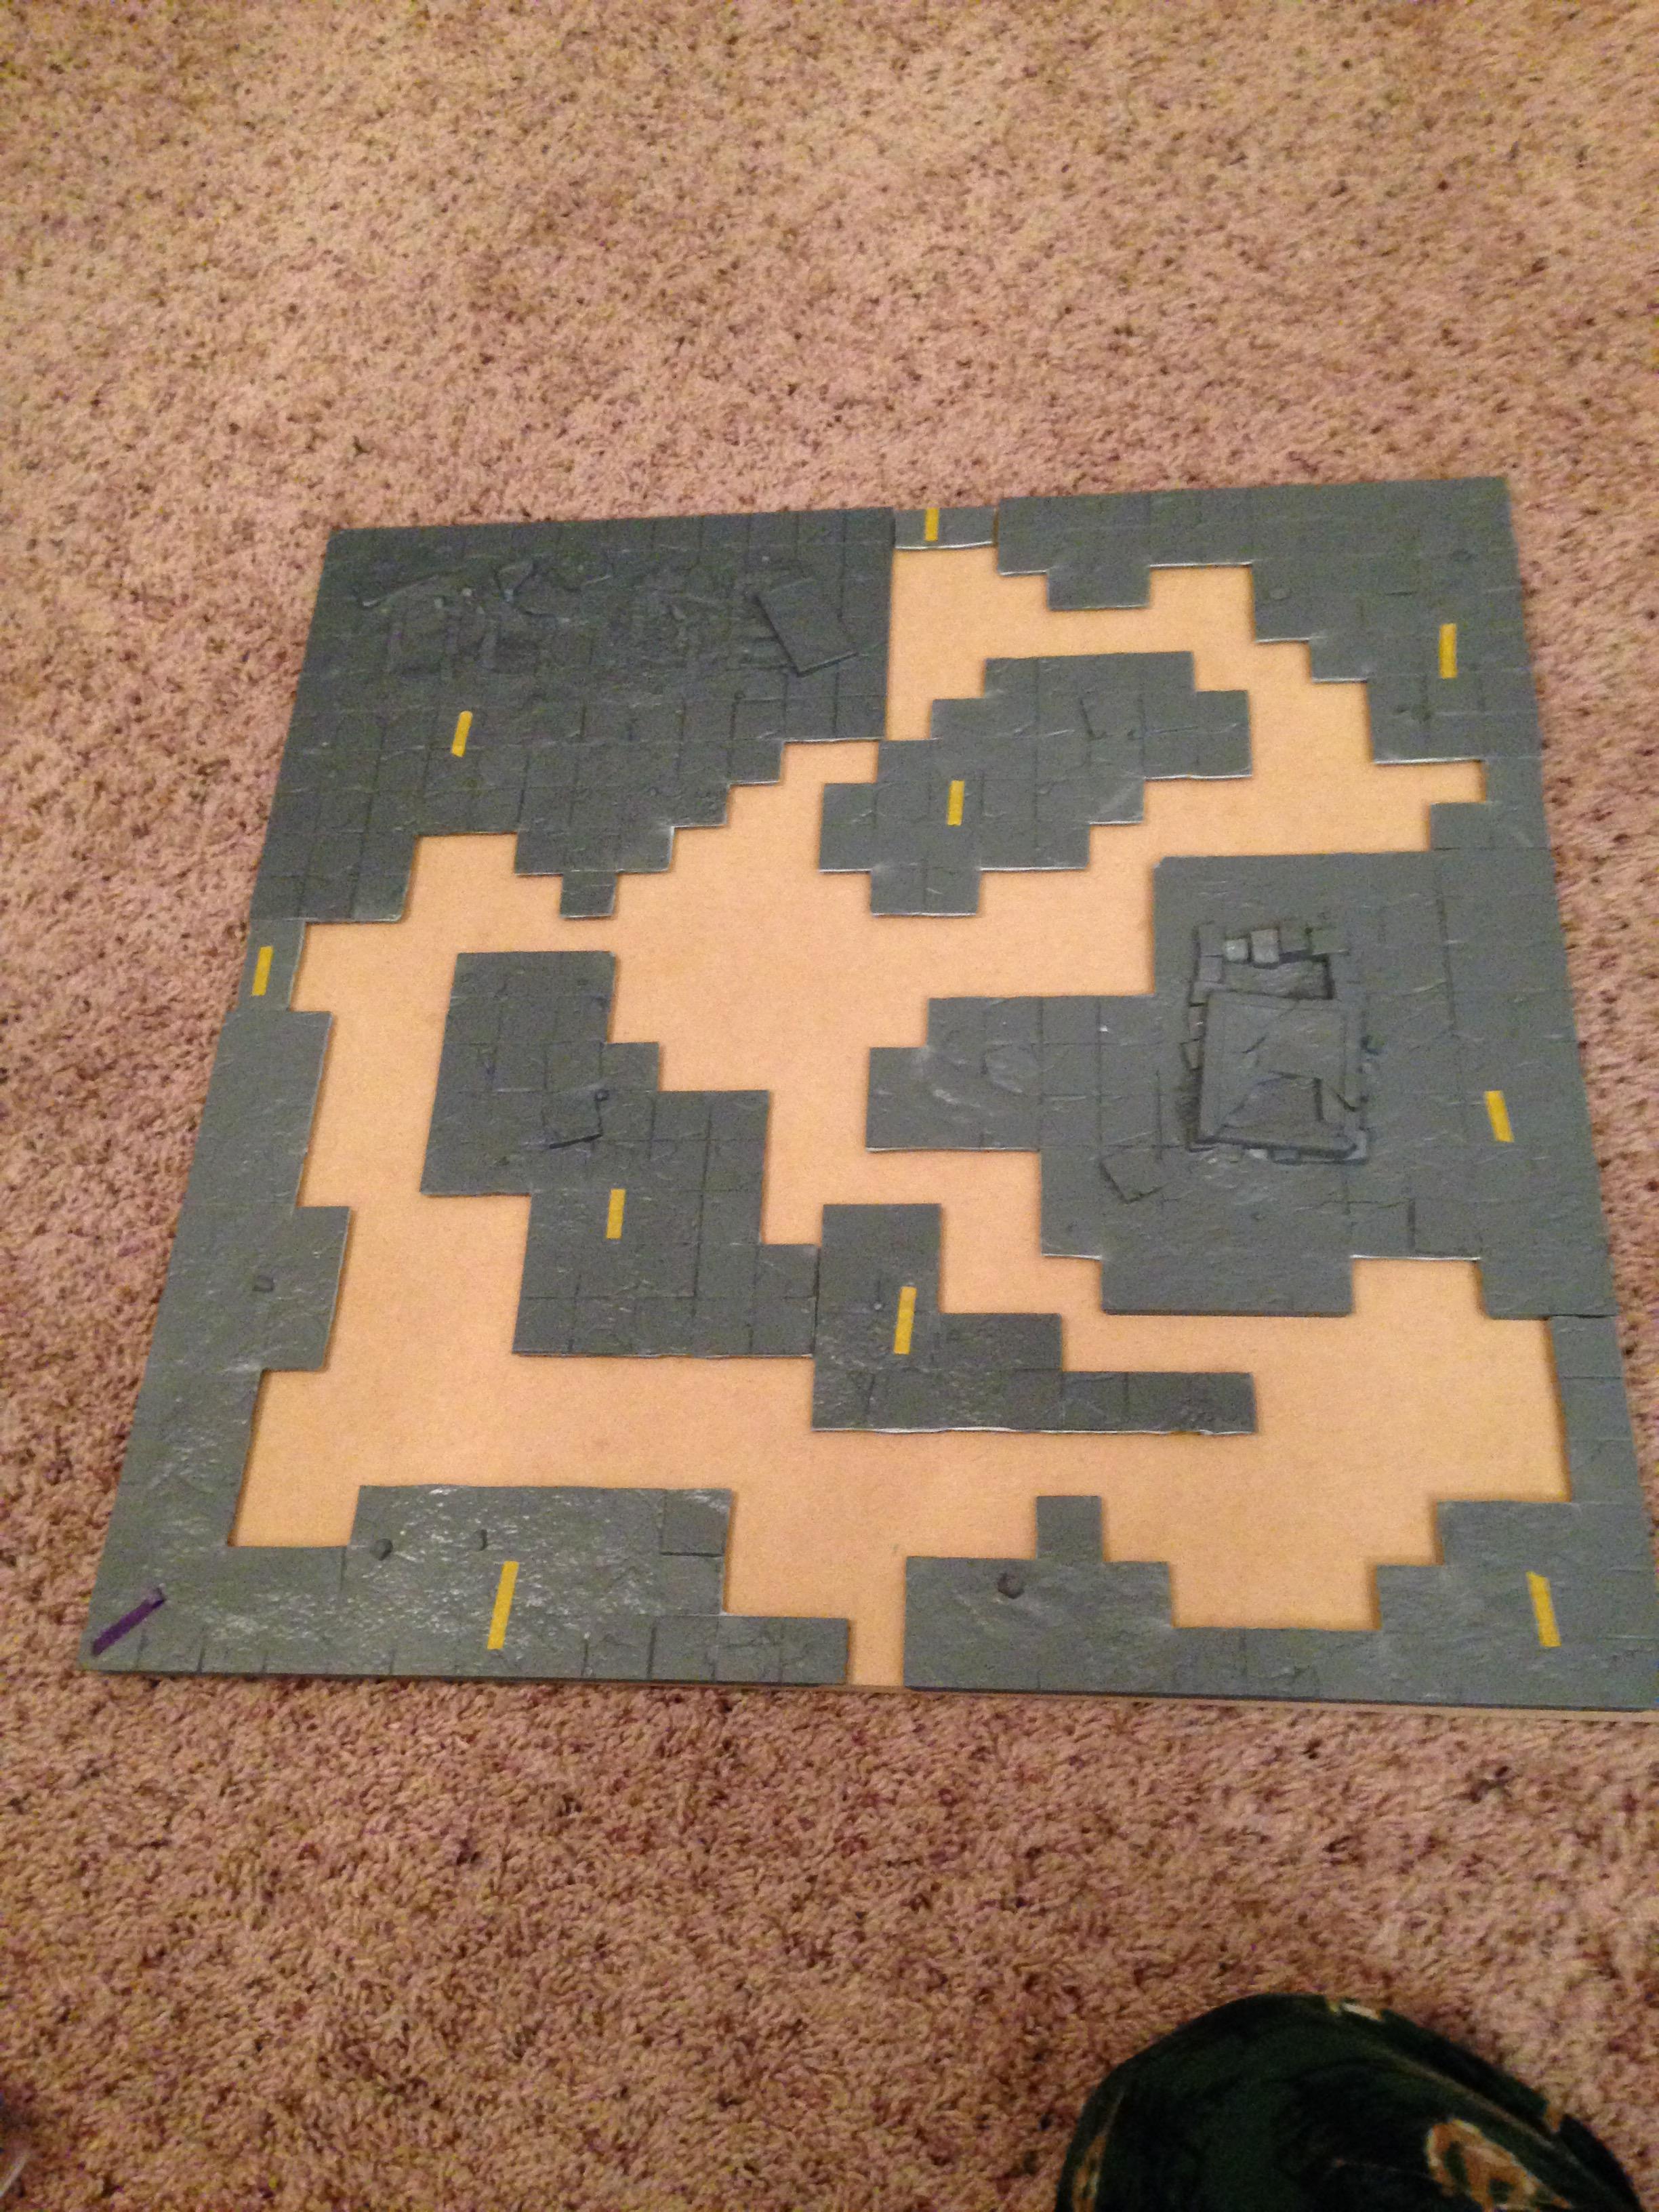 |
| Smashed Tombs, in need of swamp |
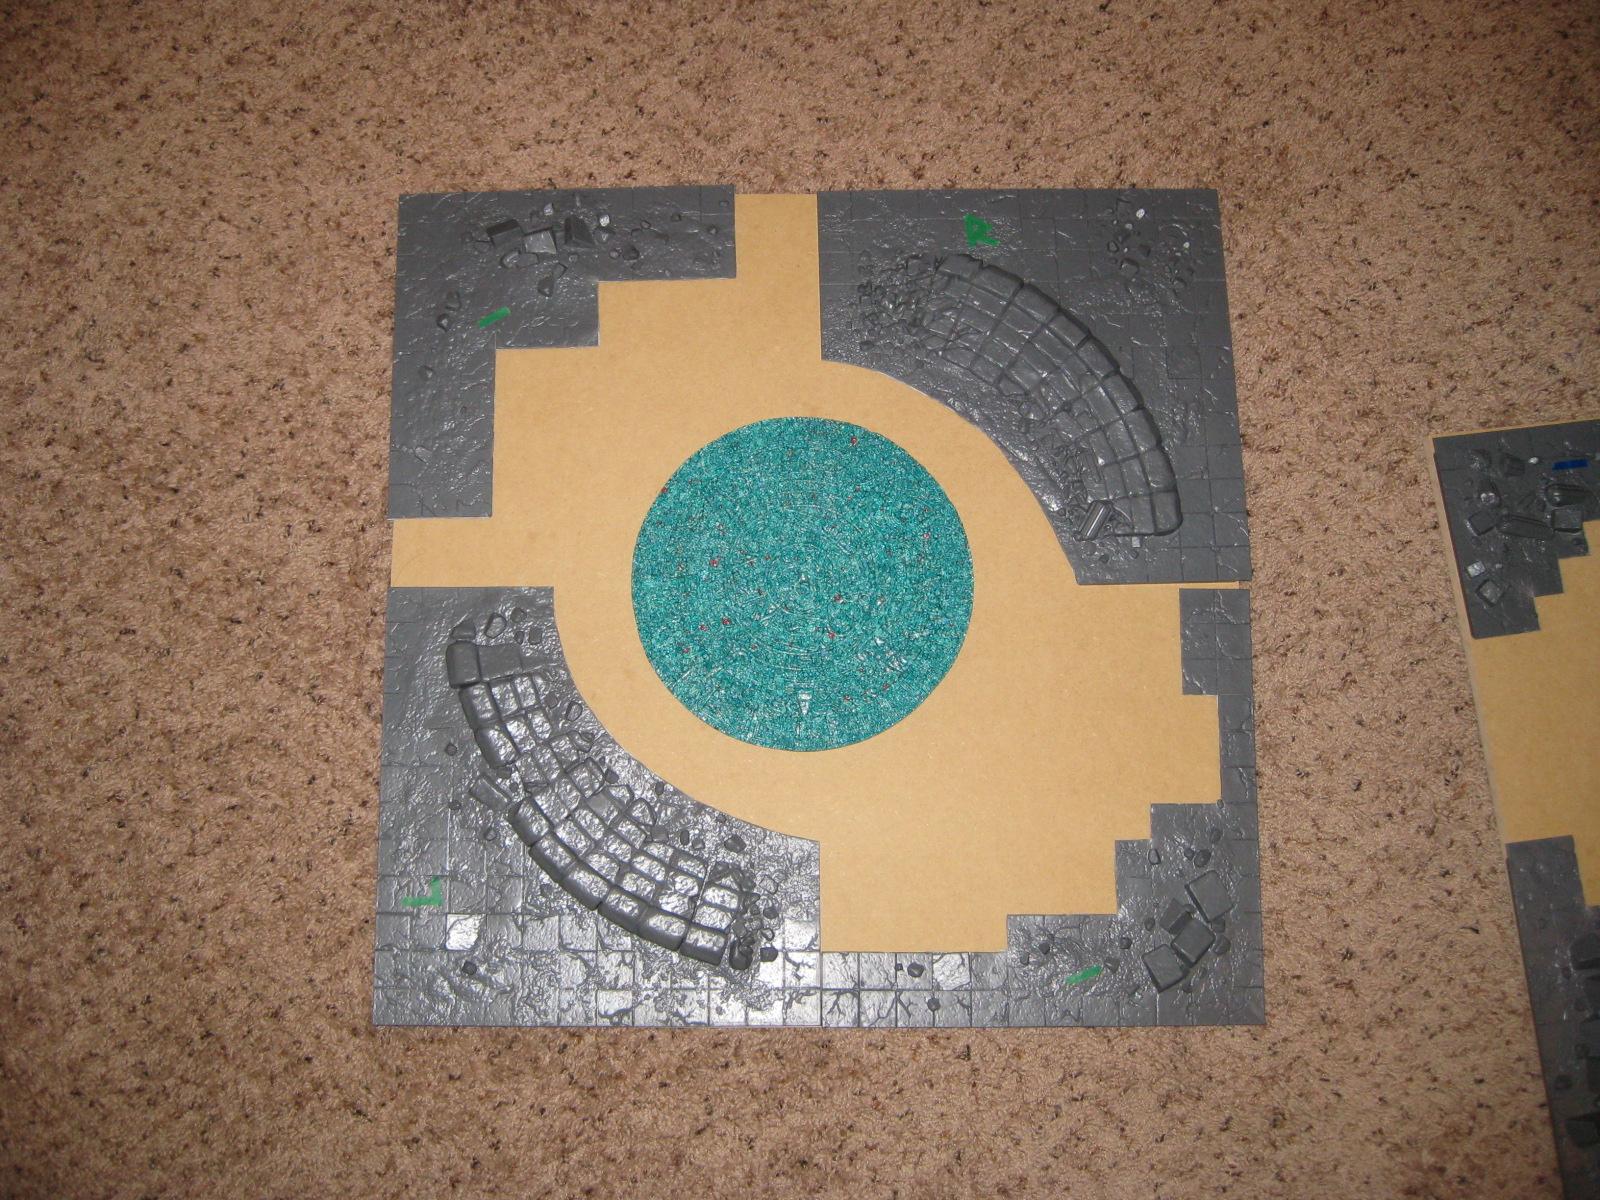 |
| "The Sundial" in need of depth |
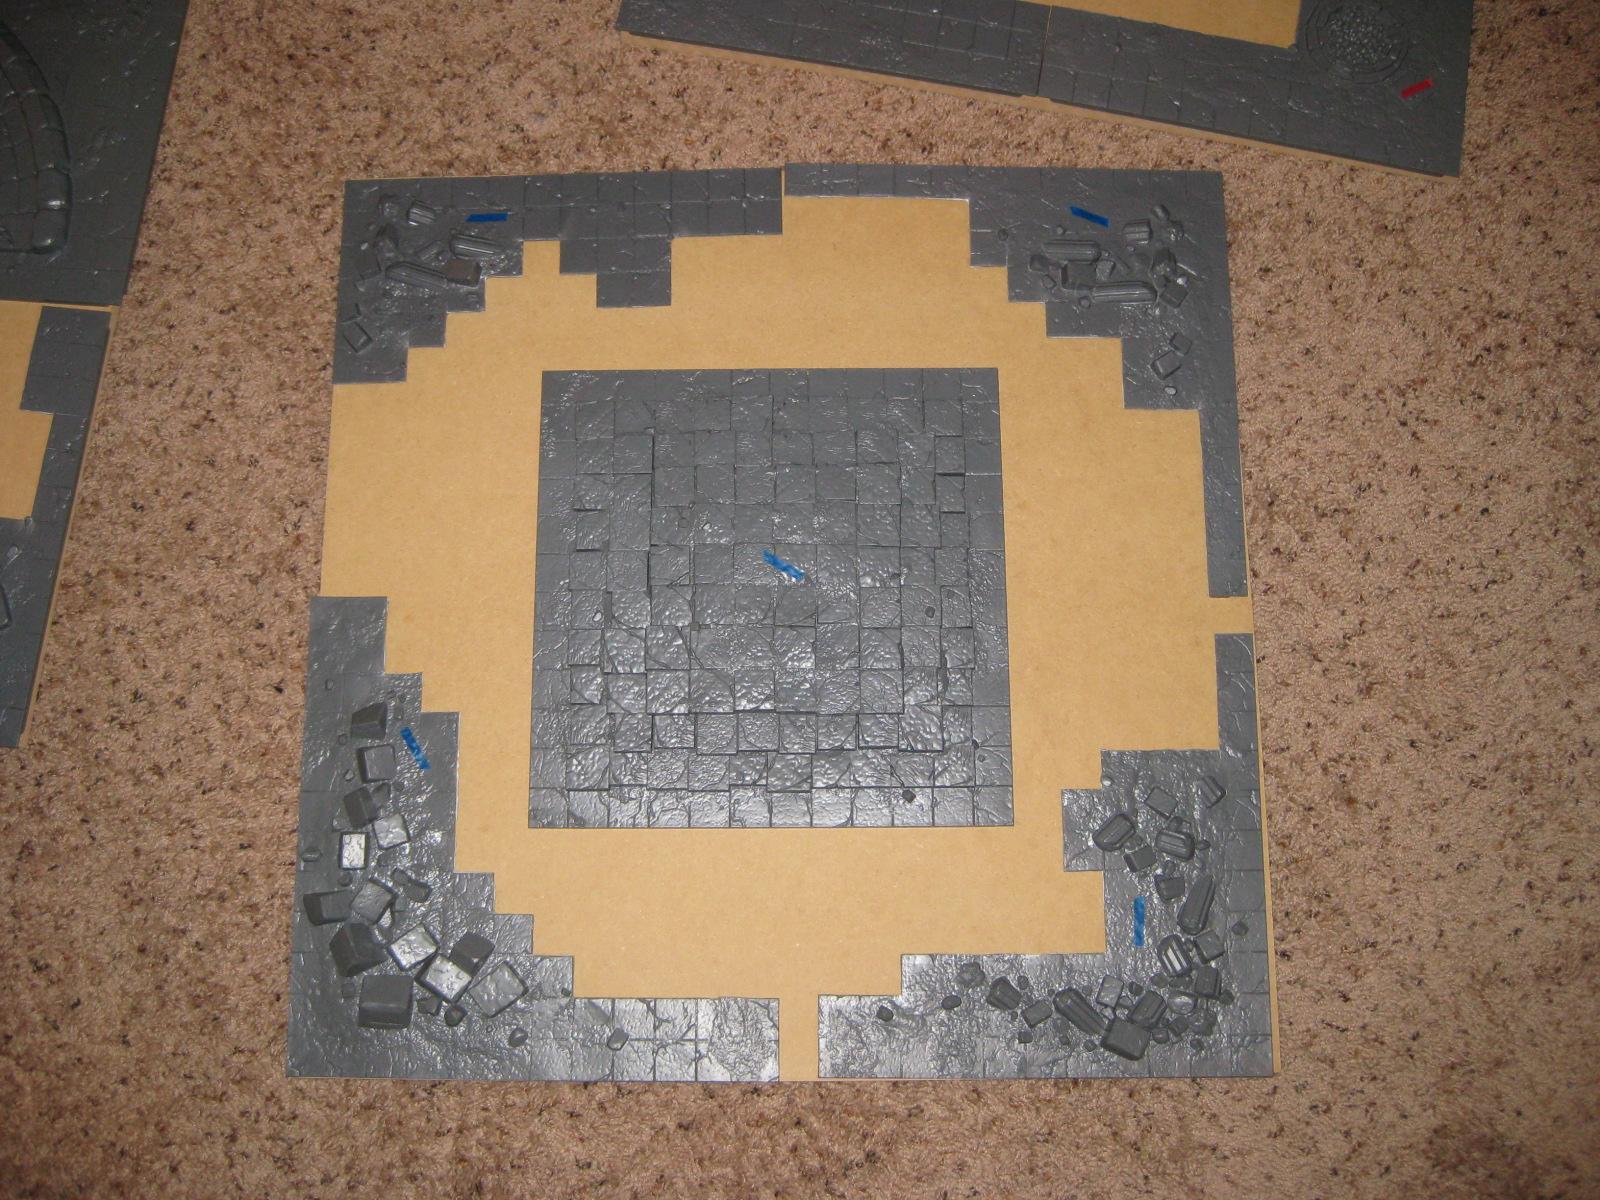 |
| "Sunken Temple" in need of depth. And swamp. |
Yes: in need of depth. I wanted some of these features sunken below the water level, so I needed to add depth to the tiles. This is the reason I started with 1/2" thickness tiles, not just so that they would all weigh 300 pounds. MDF is deceptively heavy...
Anyway, out came the plunge router:
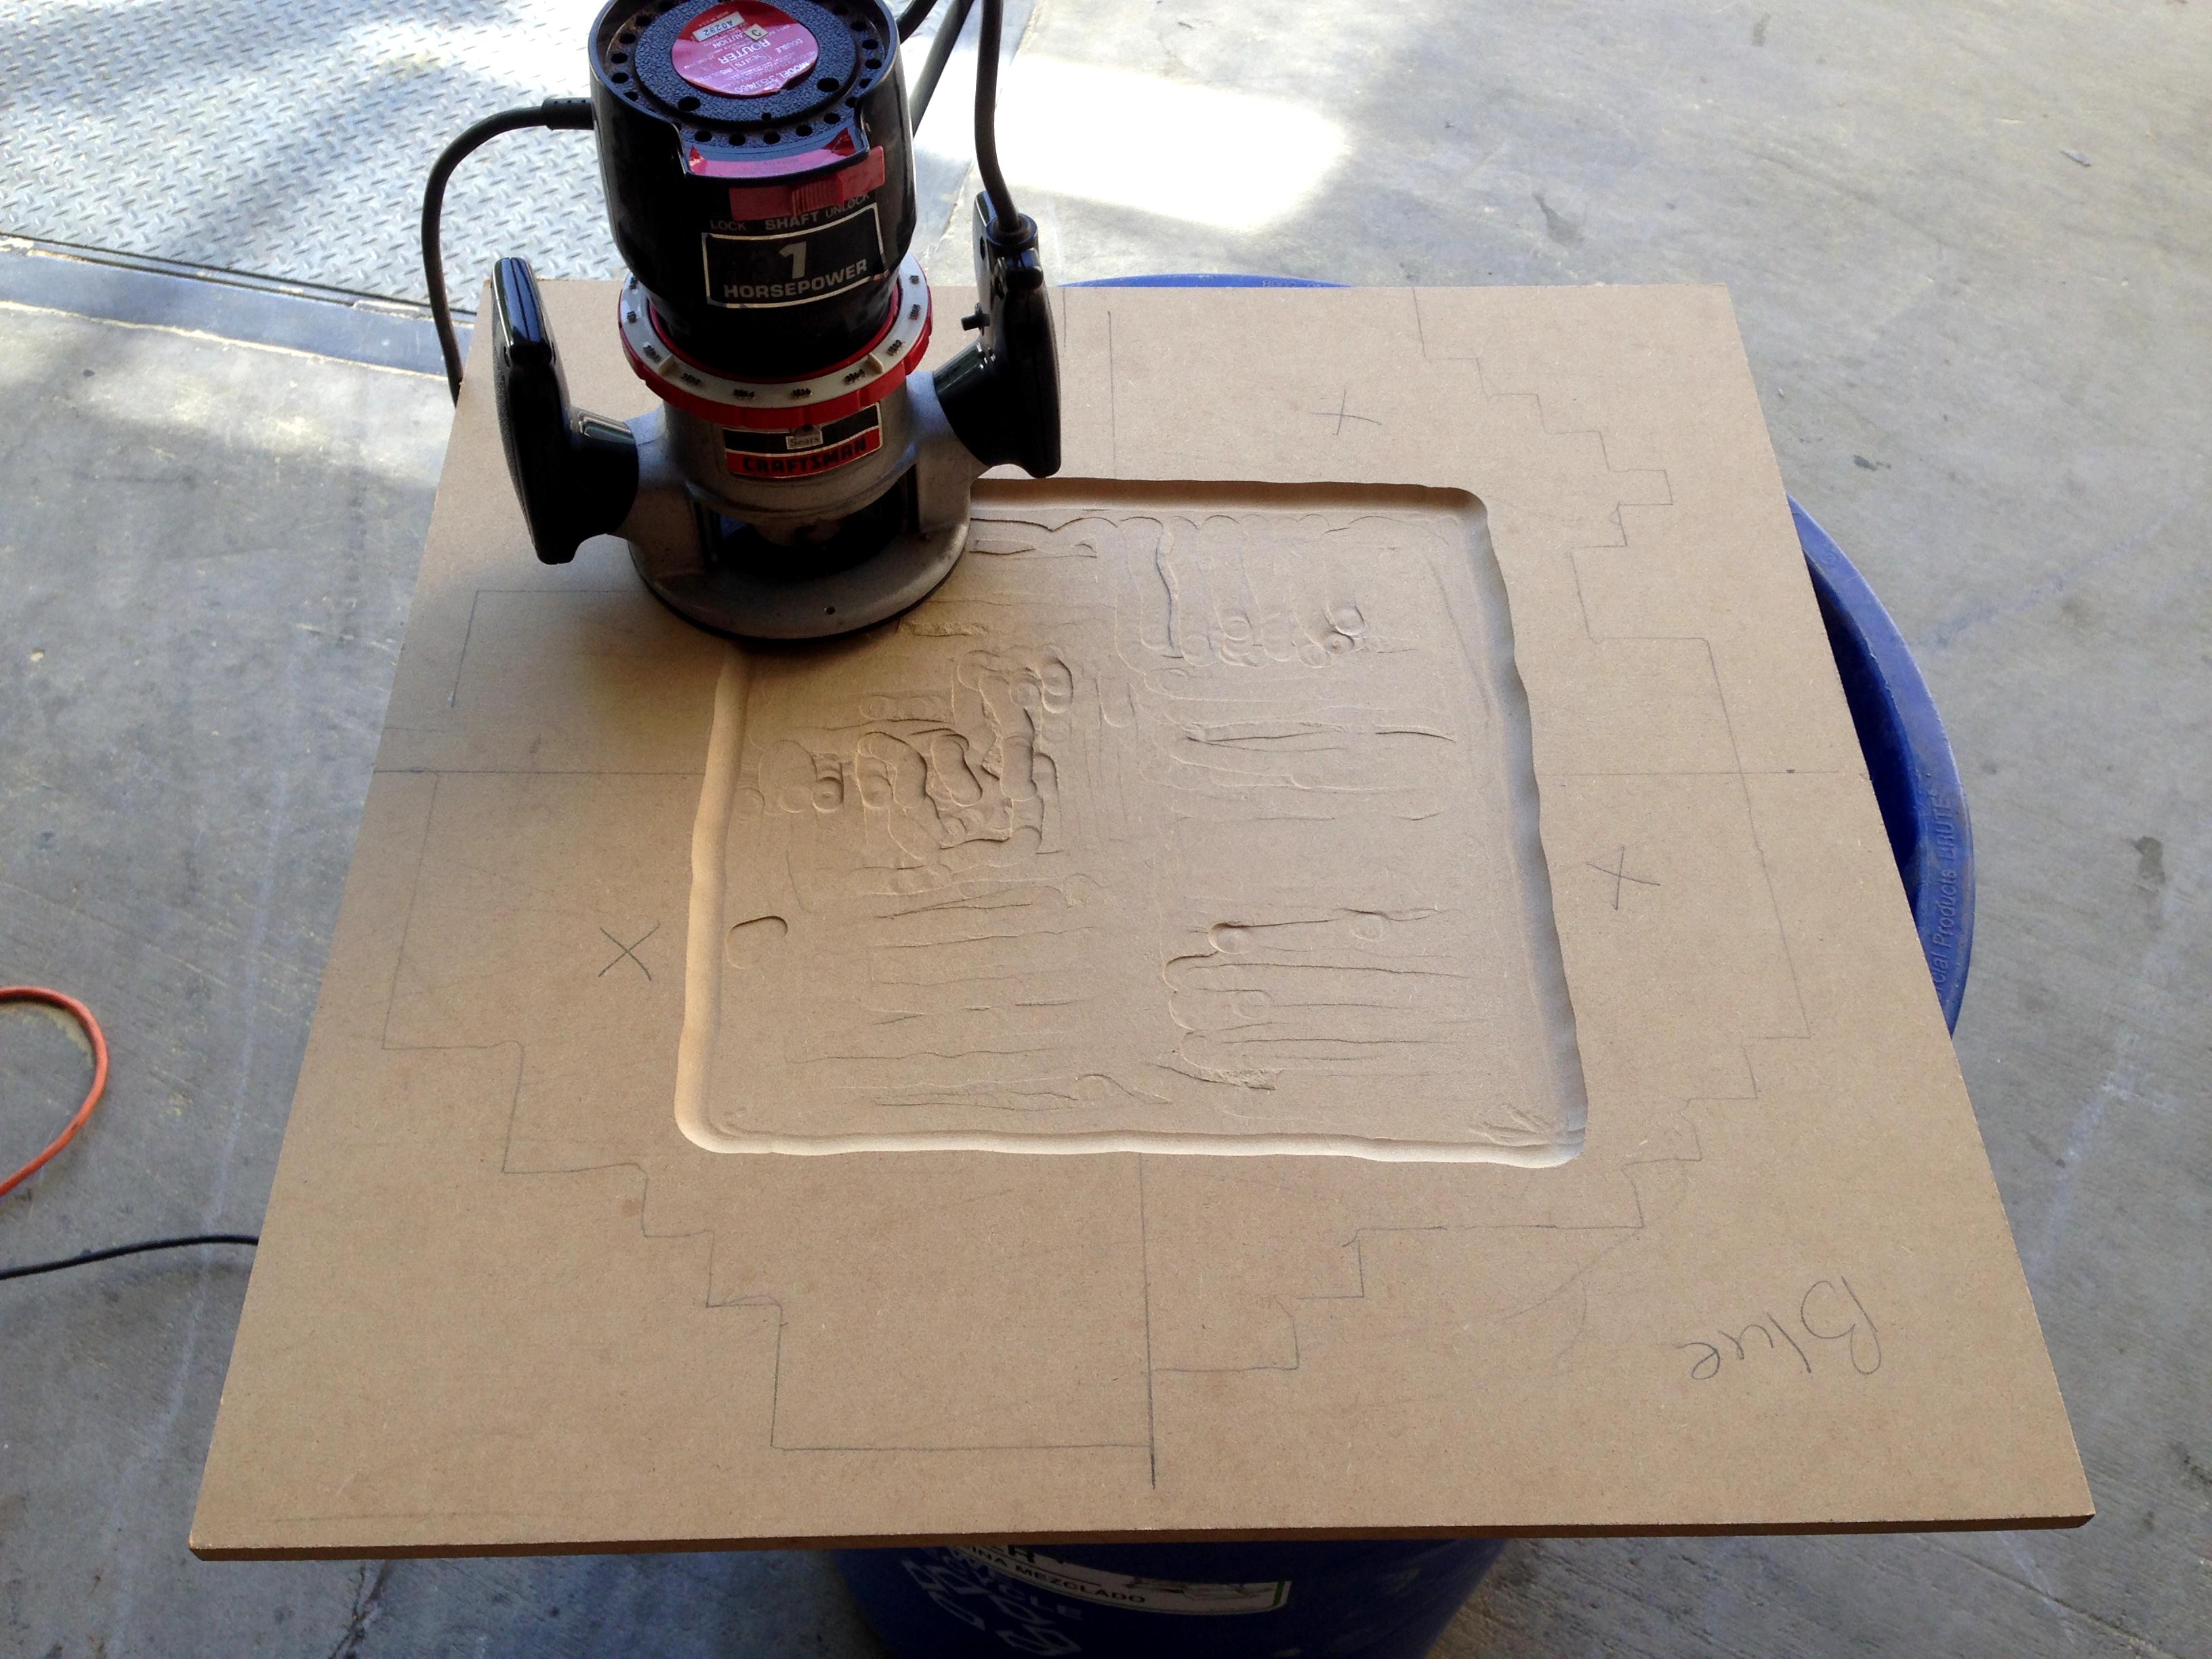 |
| Ignore the heinous cuts. It's all getting covered, so I didn't need precision milling. |
To ensure each tile had a regular, square border, I built a simple jig:
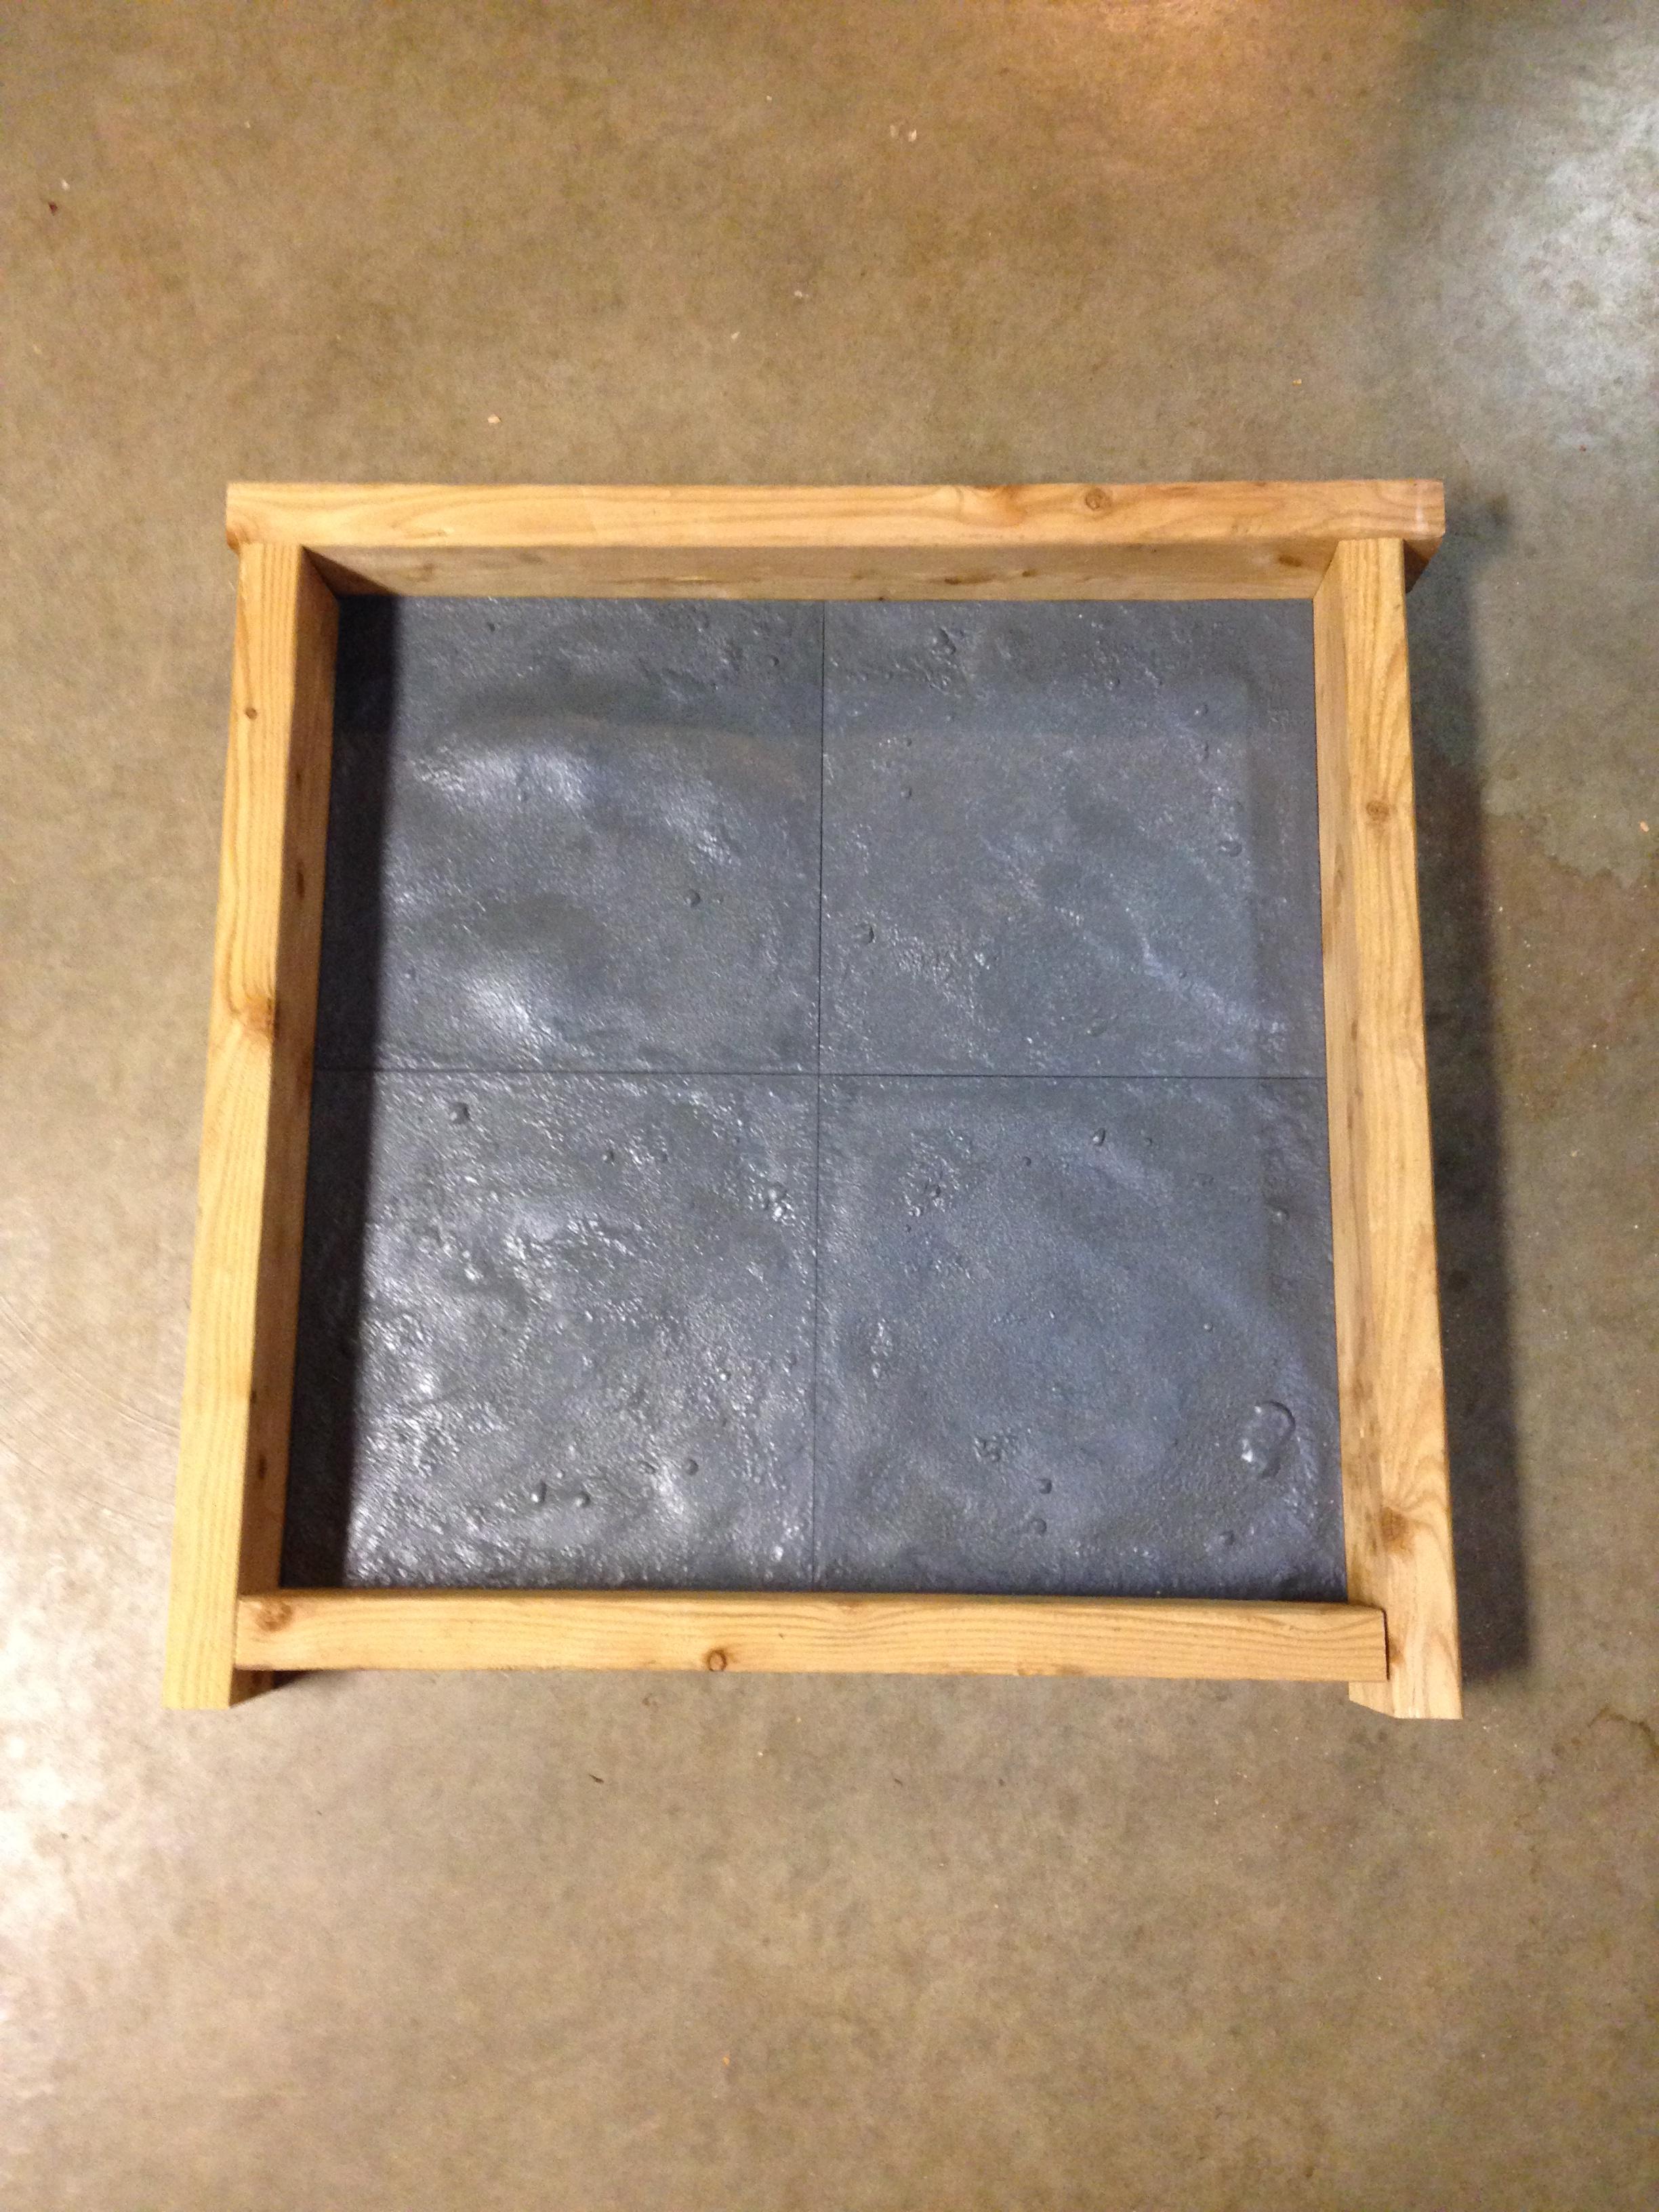 |
| Pictured above with the "Rolling Fields" tiles, as I'd already cut up my temple tiles... |
Then out came a gallon of contact cement...
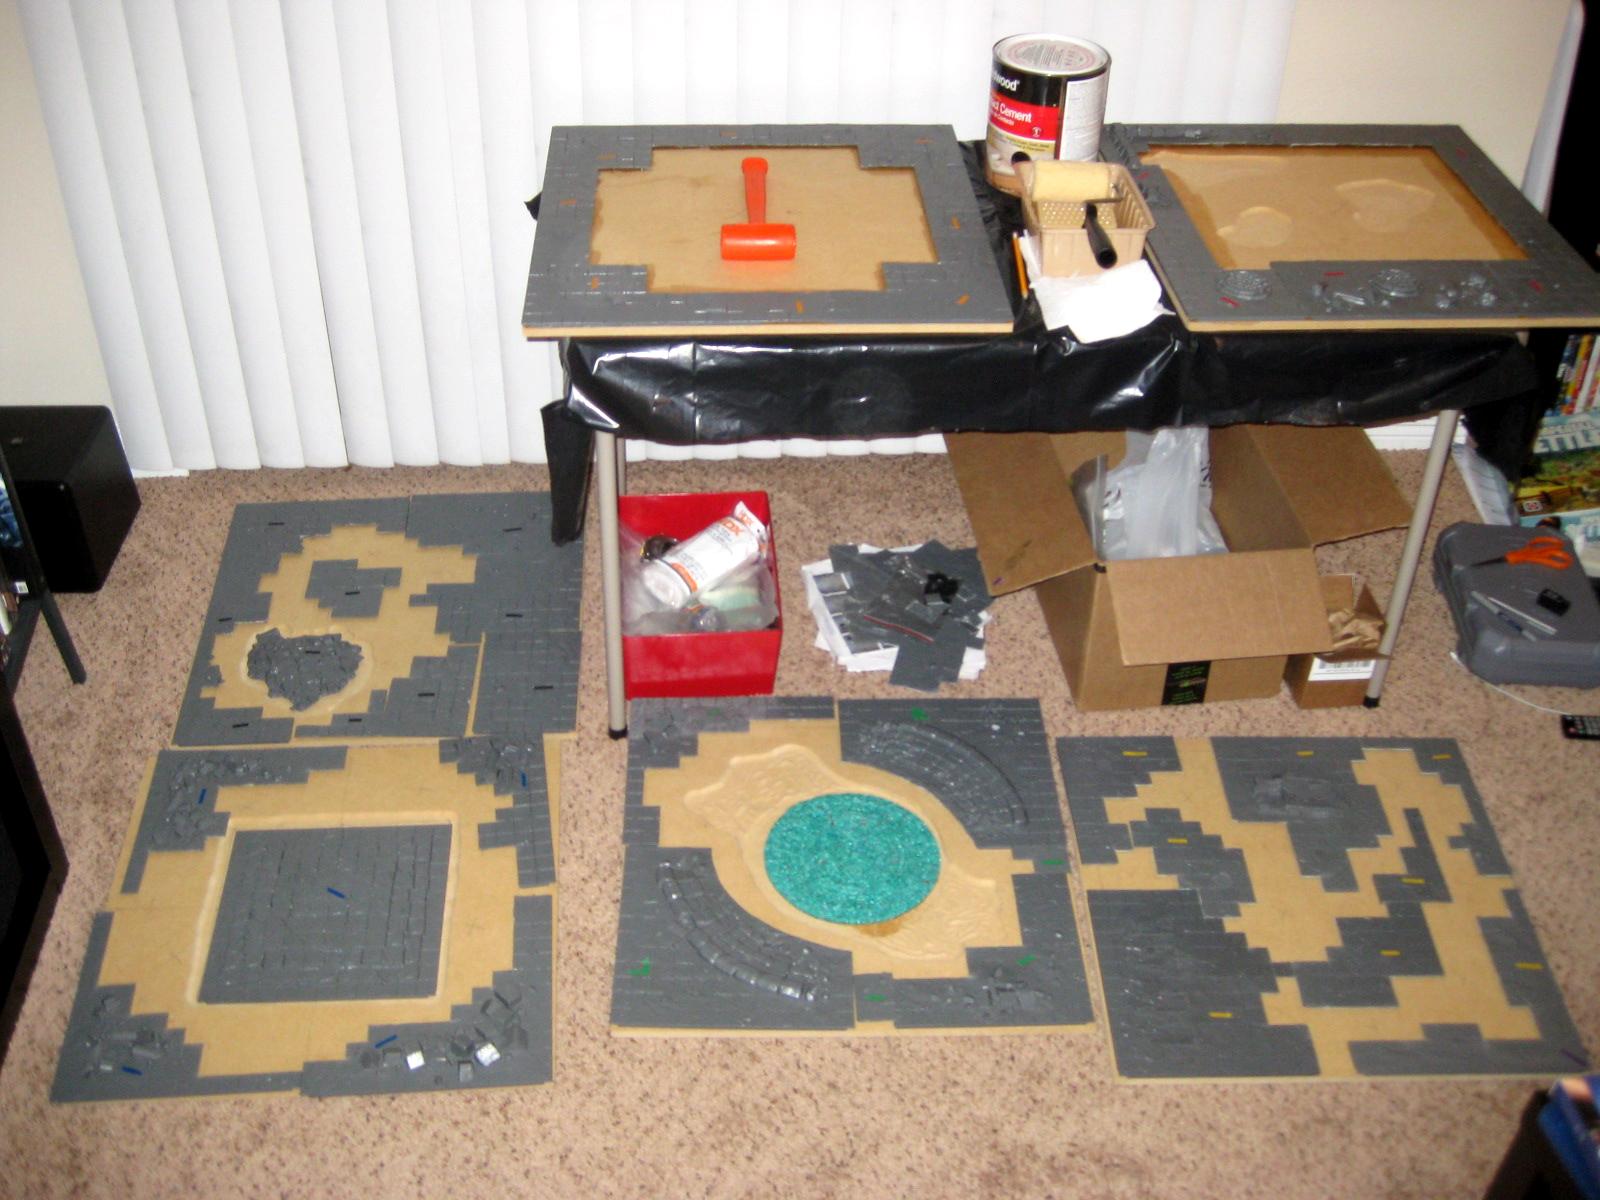 |
| Not pictured: the overpowering smell of contact cement |
With the base work done, the next step will be to fill the voids with texture using a cocktail of putties and ballast. More to come on that step in the future.
Until next time~
No comments:
Post a Comment